
It's already a hot summer here in Nashville which means it's perfect weather for the hot mess method! Now that I got that pun out of the way, the hot mess method is the result of painting in a "messy" style on top of a vinyl stencil on canvas or painted wood. It's very fun and actually not too messy! Today, Elyse from Crafts Made by Mom is going to show you how to do the hot mess method on wood.

Hi crafting friends! It's Elyse from Crafts Made by Mom here to show you a project with Oramask 813. If you haven't used Oramask 813 before, don't worry! It is super simple and once you start using it you will be IN LOVE with it.
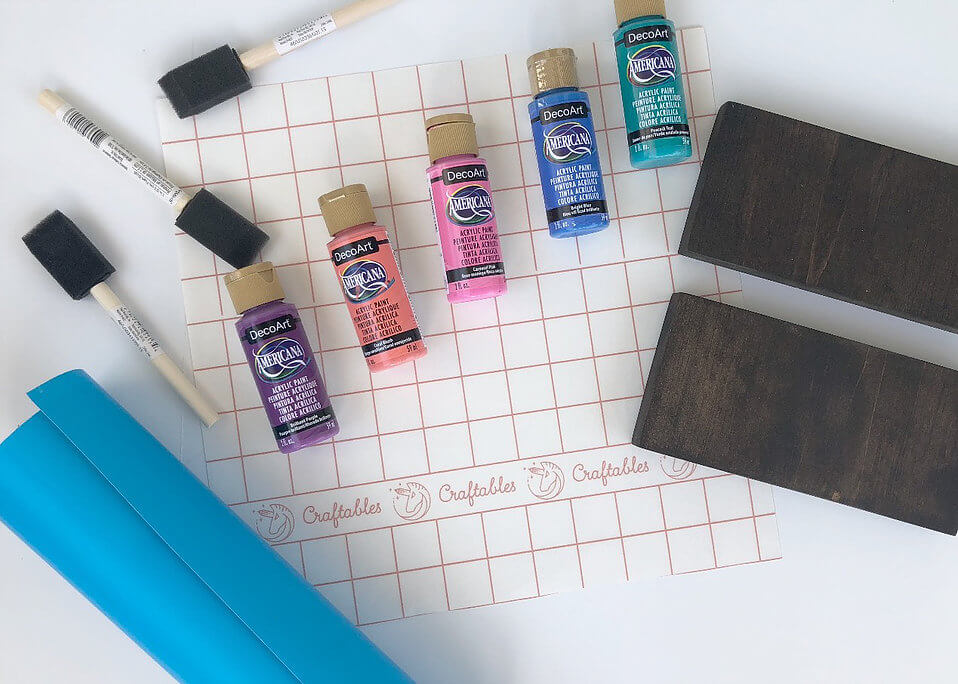
Supplies you will need:
- Oramask 813 stencil vinyl
- wooden block
- stain (optional)
- foam brushes
- vinyl transfer tape
- acrylic paint (I used Deco Art's Americana paint that you can get in any craft store)
- vinyl cutter (I used my Cricut Maker)
Once you have gathered everything it's time to begin :)
Step 1:
Stain your wooden block if it is not already stained and while the stain is drying find a design you would like to use on the wooden block.

Step 2:
Cut out the design you would like to put on your wood.
My daughter is doing a service project locally so I decided to do the Raleigh skyline which I found online and imported into my Cricut Design Space.

Step 3:
I want the buildings to remain unpainted with the stain showing through so I removed the Oramask 831 from around them.
When only the skyline was remaining I covered it with transfer paper and placed it on the wood. I rub the top of the transfer paper/design on the wood before trying to remove it from the design to help the design stick to the wood.
TIP: Some stains have a sealant in them so be careful when removing the transfer paper, the design might want to come up too!

Step 4:
Make sure their are NO air bubbles under your Oramask 831 before you start painting. I started at the bottom of the design and worked up using the darkest color on the bottom and the lightest at the top. This is such a great project for kids to do or help with- my daughter's helping hand is in the photo below.
TIP: to prevent your paint from 'bleeding' (getting under your stencil) dab your brush into the paint and then dab a few times onto a paper towel to get the extra paint off and paint from the stencil outwards.

Step 5:
Let the paint dry to the point of being tacky and remove the Oramask 813.
Hooray, you now have a beautiful painted wooden block!

I hope you enjoy this project and follow me on Instagram to see other projects and items that I make. As always, feel free to reach out to me with any questions you have.
Happy Crafting!
