
One day while perusing our facebook group I came across a user who had posted stuffed animals with vinyl on them. I had never seen this before and thought it was the most adorable idea!
If you agree and want to know how to make one yourself, today our guest poster and plushie pro Rachel shows us how she applies iron-on vinyl to stuffed animals.

Hi! My Name is Rachel Whiteside, I live in Bailieboro Ontario, I am a Registered Nurse and I am married to an amazing man who is a paramedic and we have three beautiful, wild children Maddy, Jacob and Deacon! I have always been artsy and crafty but since having kids this has reignited the spark, I love making things and creating new stuff, I love making people happy by making unique things just for them!
Also show some Love and Check out My Instagram @ https://instagram.com/_raw_designs_/
Today I'll be showing you how To Apply HTV (Heat transfer Vinyl) to a stuffed animal
Personalized stuffed animals are a very special and unique gift that kids love to receive, but is the thought of applying heat transfer vinyl to a non flat surface hanging you up?
Well today I am going to show you just how easy it is to customize a stuffed toy, and then you can try it out yourself!
First off there are some supplies you will need:
- Stuffed Animal (We choose a cute Elephant)
- Craftables HTV (We choose rose gold because it is currently very trendy)
- Household iron preheated to the hottest setting or a heat press
- Parchment paper or sheets of Craftables Teflon paper
- Weeding tools (I use a dental pick from the dollar store)
- Vinyl cutter
- Mat
That is it, that is all you need to get this project rolling! So Lets Begin!!
Step 1:
To start you will need to make your design or use a pre-designed file, I designed this cute moon with the words Dream BIG Little One for my daughter's friend Ellie whose name I also used for the other ear. Stay tuned for a tutorial on how to layer HTV!

Step 2:
Cut the design, use any vinyl cutter! *REMEMBER* always mirror your image when working with HTV so the design reads the right way! Lucky for me my machine reminds me!

Step 3:
Trim the vinyl! You are going to want to save those scraps! They are gold! Check out this how to use vinyl scraps for some inspiration. Once you are done trimming, you will need to weed out the unnecessary parts of the design, you only want to leave the parts you want ironed onto the stuffie.

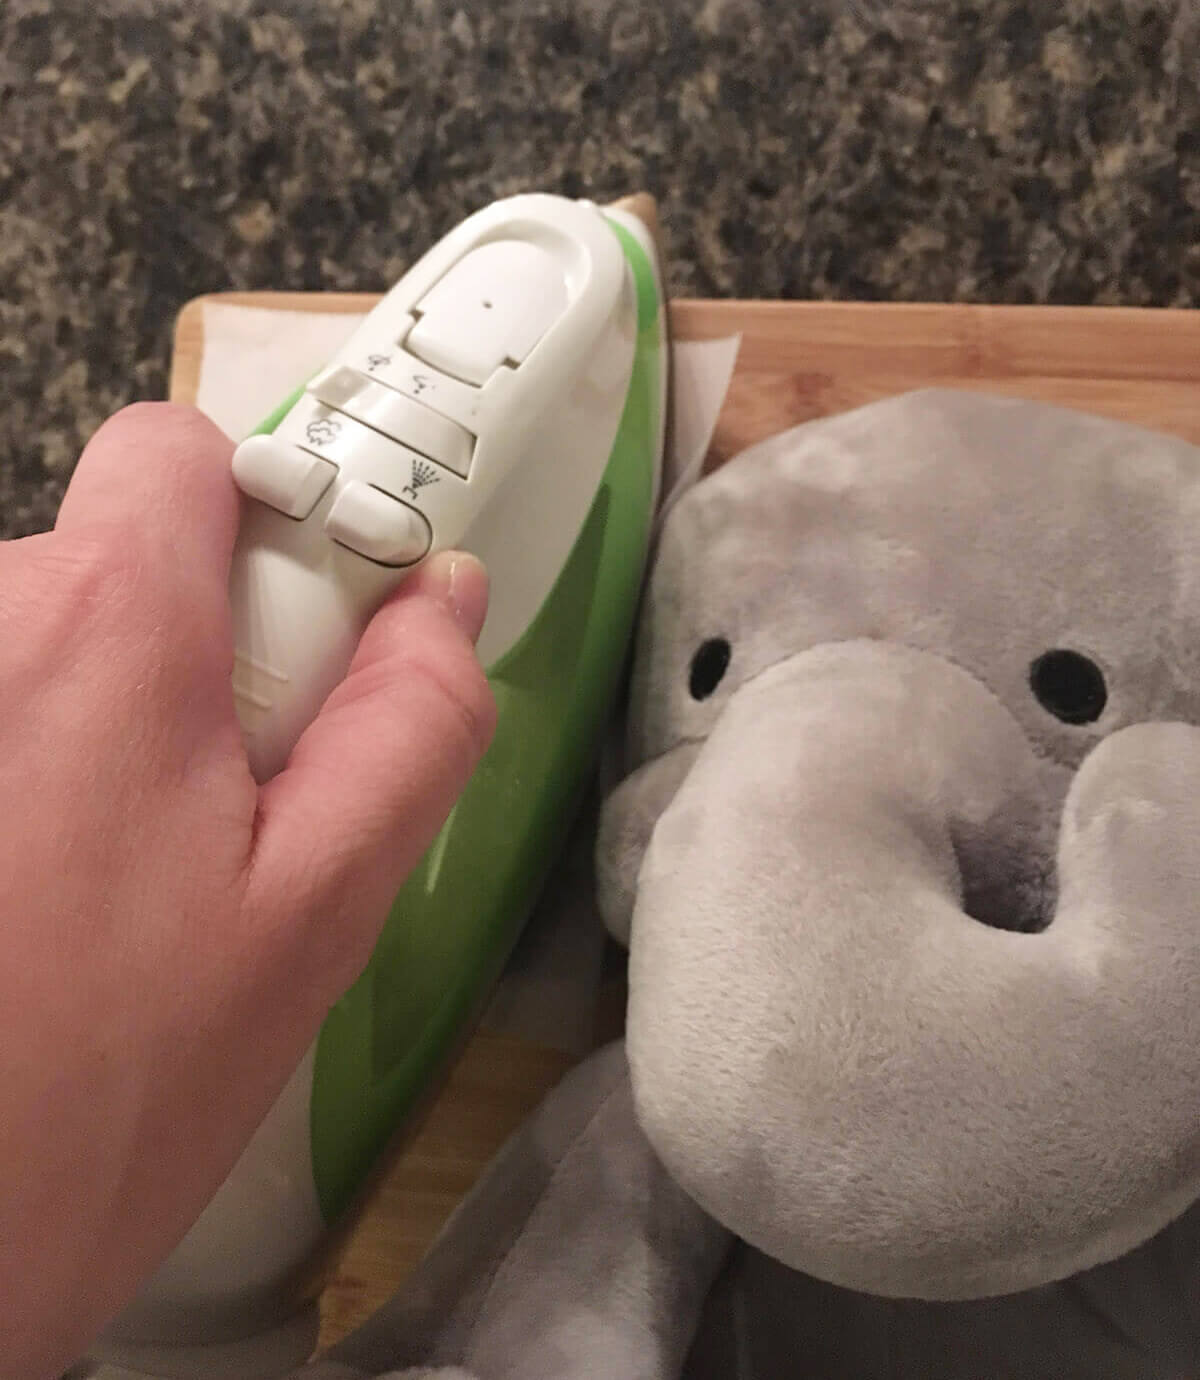
Step 4:
Pre-heat the stuffed animal, now we are breaking the rules here as most stuffed animals will have a tag on them that says DO NOT IRON, like the one I am using today. Well we are living on the edge, my friends, and we are going to iron it! I want to pre iron it to make sure that all the extra moisture is removed and that it is as flat as possible.
Step 5:
Place the animal on something that retains heat, I use a wooden cutting board, then place the weeded image onto the surface, cover with parchment paper.
Step 6:
Have your iron on the hottest setting and press down with the iron with med-hard pressure for 20-30 seconds then remove the parchment paper and in small circles iron over the image for a few seconds.

Step 7:
Peel it while it's WARM! Peel off the plastic carrier, if any of the vinyl is not transferring put the carrier back on and iron in small circles for another 5-10 seconds and try again!

It's that easy! Stay tuned to learn more about layering HTV on a plush unicorn!
Check out all the beautiful colors of iron-on vinyl sheets and rolls.