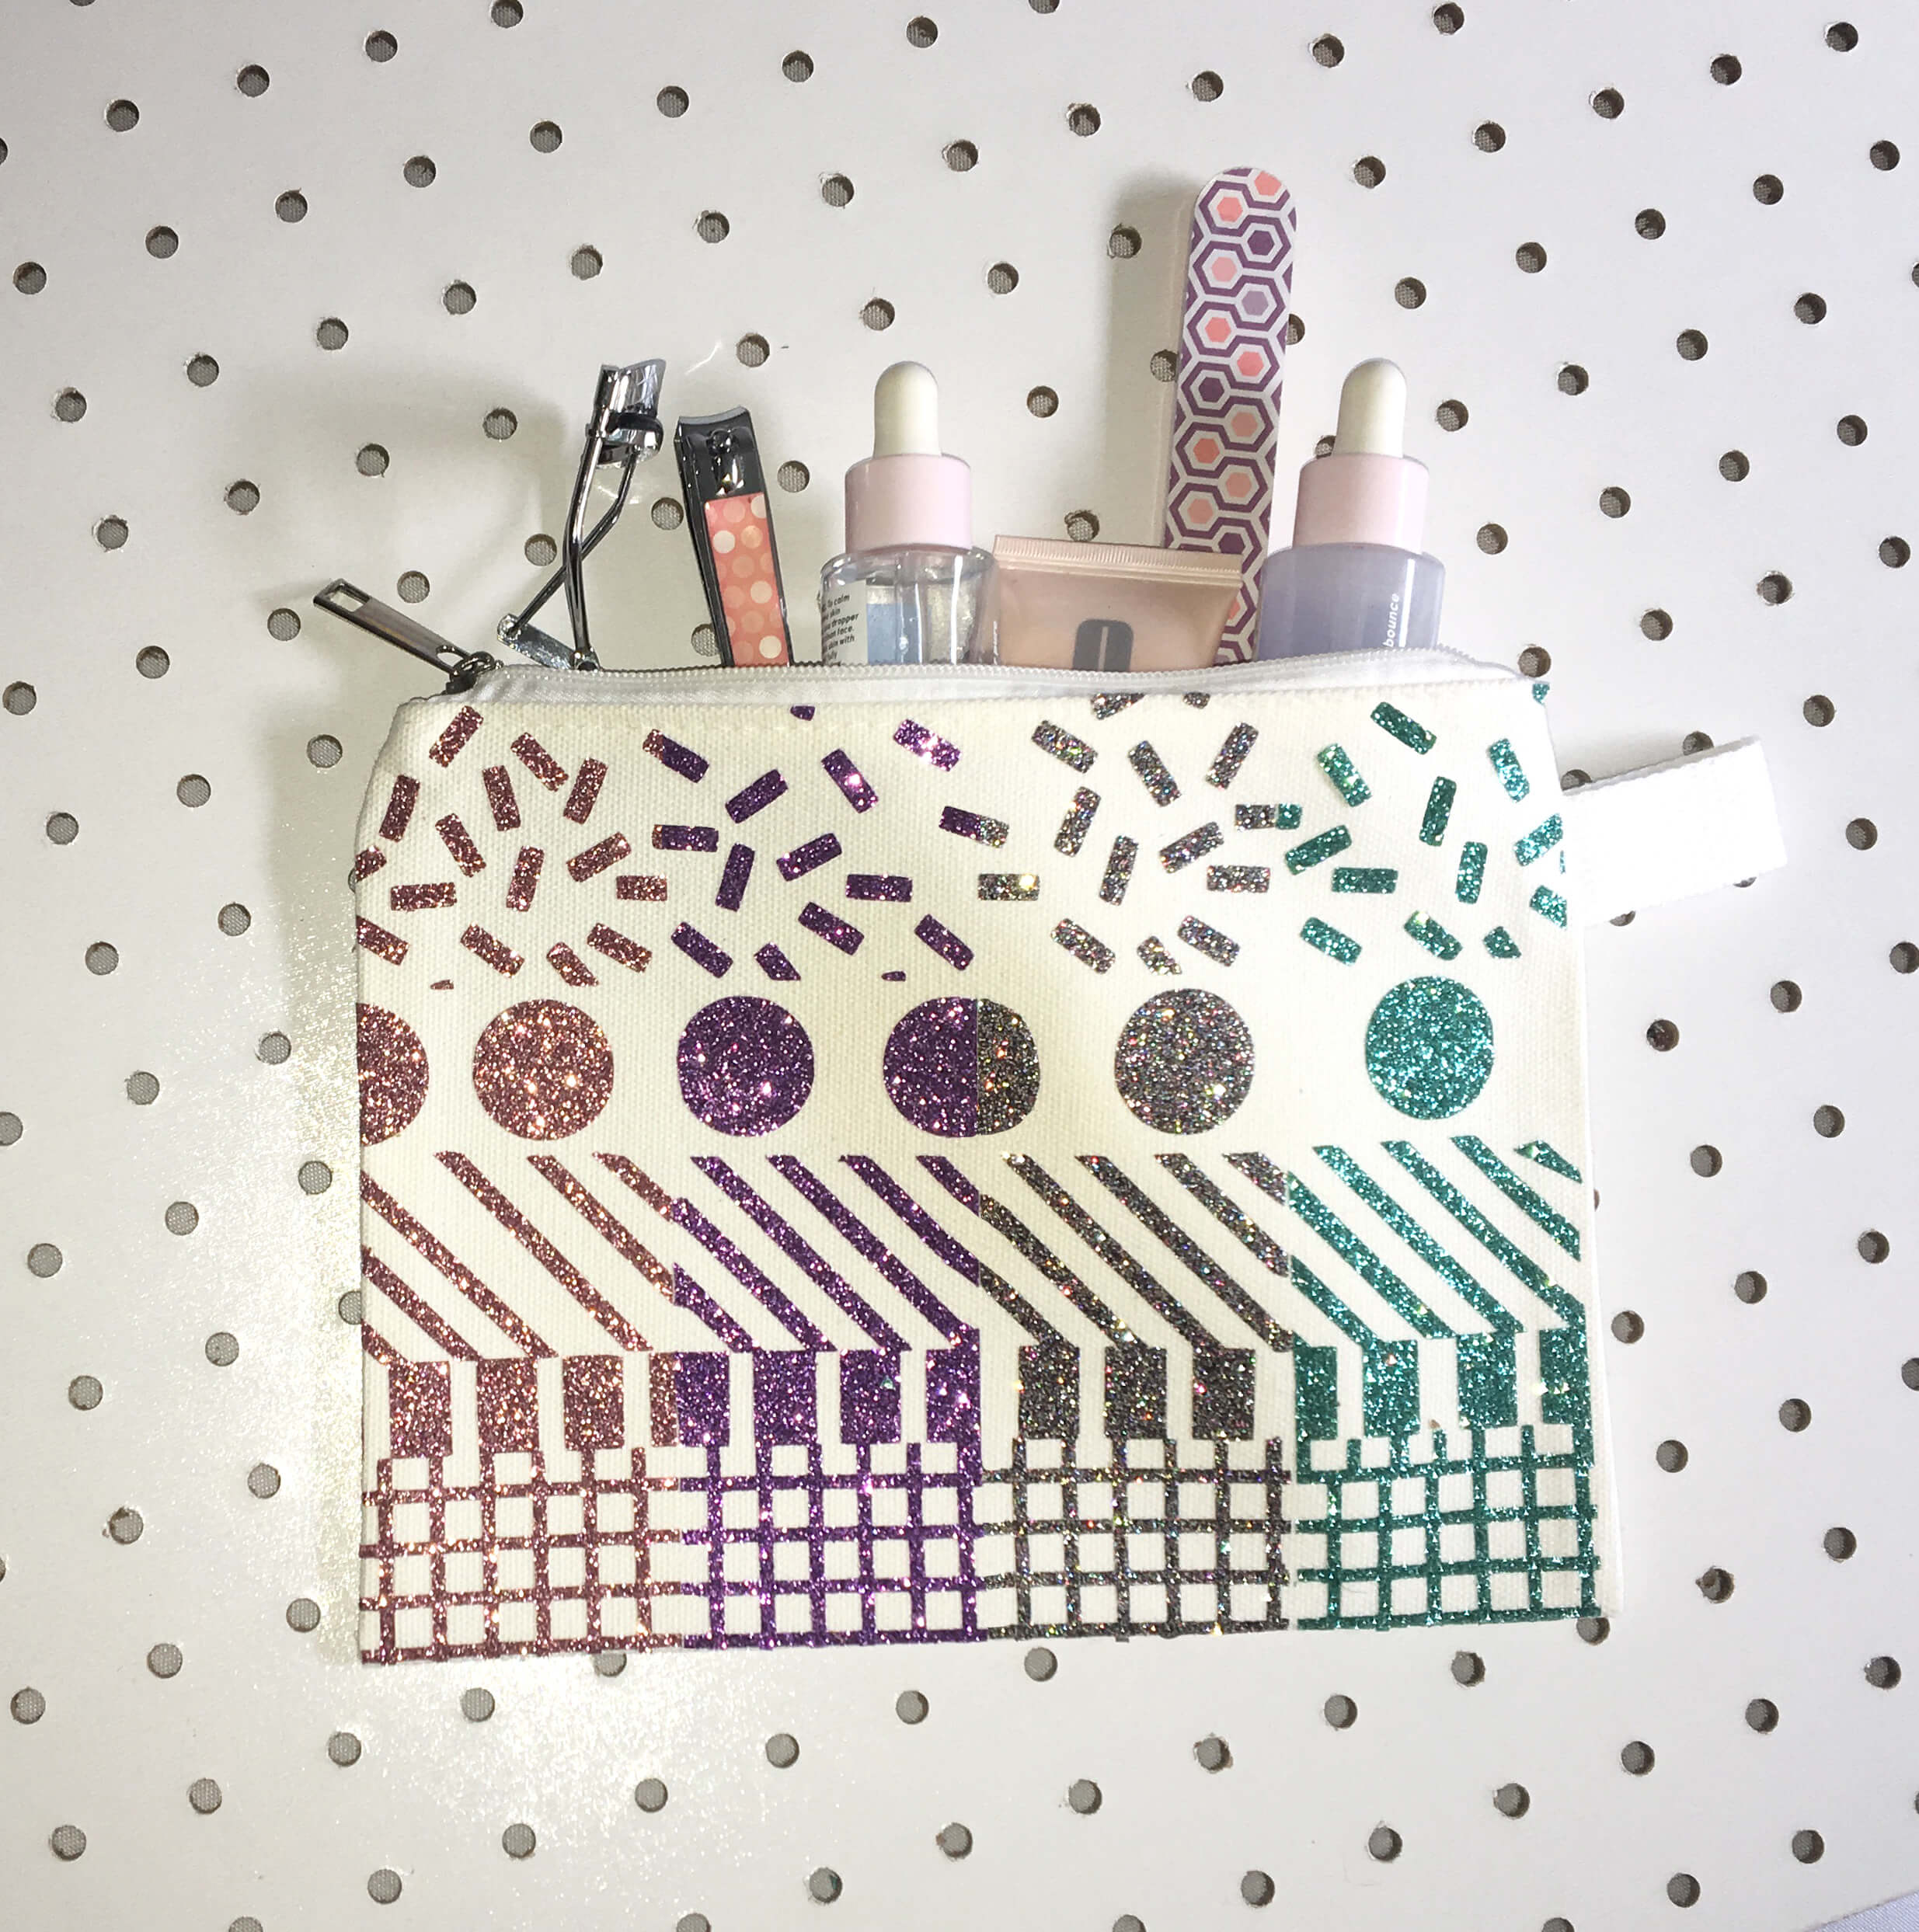
If you're an avid craft vinyl user like me, chances are you have a pile of scrap vinyl laying around with no idea what to do with all of it. Over here at Craftables HQ my pile was getting way too large so I finally put my foot down and decided to use some of it. Here I'll show you a great technique to use up some of your scrap vinyl, no matter what sizes your scraps are, that can work with all types of vinyl!

What you'll need:
-Scrap vinyl (I used HTV this time around)
-an Iron pre-heated to 330 degrees (or the linen setting on most irons)
-a Craftables Teflon sheet
-Ironing board or heat protective surface
-Weeding tools such as a pick, pin or exacto knife
-any craft cutter you have
-craft cutting mat
-a blank pouch- make sure it is cotton or polyester!

I decided to make a cute pencil pouch!
To make the cut file I combined some memphis design-inspired prints and traced the design in Silhouette Studio. I made sure that size of my file matched the size of my pouch (9x7). The file is below if you would like to try it at home!

Unlike the last blog post where you cut by color, this post is all one cut because you'll be cutting multiple sheets of vinyl in one go!
So if your scrap is anything like mine, none of my pieces were the same size. To solve this issue, I cut them all into strips that were 2.25" wide and at least 7" long.

The colors I'm using in my project today all come from our mermaid glitter htv pack. I know we're using scrap here, but this is my favorite glitter color pack and I was excited to make something else with it!
I took all the strips and lined them up so they would be flush on the cutting mat. You can create anything using this technique as long as none of the vinyl overlaps. Your pieces do not need to all be the same size!


Once all your glitter is stuck to your mat, press send!

Once your design has cut (I'm going to be honest, this design took a while!) you're ready to start weeding!
Helpful hint: take a photo of the order of your colors before you pull the cut design off the mat. This will make it easier to line up your design after it's been weeded.

Once your design has been weeded, it's time to lay your design out on your project! Especially with the design I chose it was a little challenging to puzzle-piece it back together.

If your iron has heated to 330 degrees (the linen or cotton setting on most irons), you're ready to start pressing.
Press with medium pressure for 10-15 seconds. My iron doesn't heat super hot so I had to be more in the 15 second range, especially with all those sprinkles on top.
Make sure you've applied that heat to the entire pouch, wait around 20 seconds for your project to cool down a bit and you're ready to peel off the carrier sheet.

After I peeled up all four carrier sheets, I like to put the teflon sheet back on my design and hit it with heat one more time, just to secure everything, mostly just for peace of mind.

And taadaa, you're done! A cute new makeup bag, pencil case, vinyl tool pouch, made from scrap vinyl! If you are looking for more creative ways to use scrap heat transfer vinyl, consider applying heat transfer vinyl to a ceramic mug.
