
We're excited to share with your one of signature products- our Craftables Smooth iron-on vinyl!
This may be one of my favorite products we have because of the iron-on factor. Customizing anything is so easy and so much fun!

I had a tote bag lying around so I decided to add some cute summer flair to it, in this post I'll show you how in only a few super easy steps!
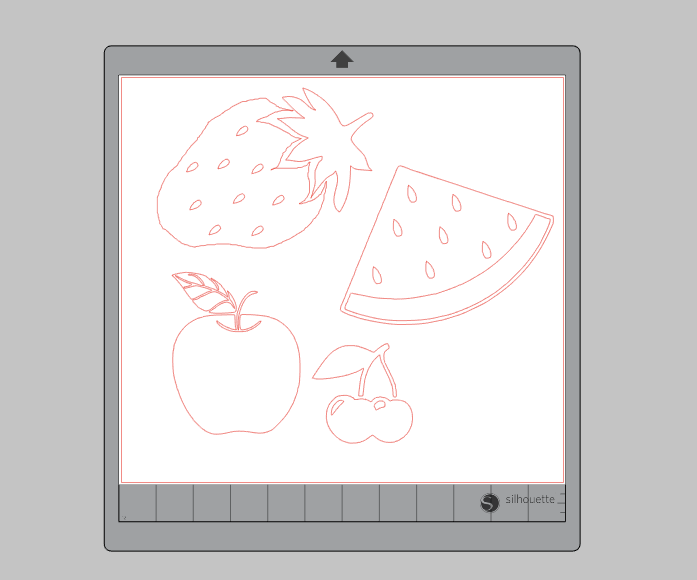
First I created the files in Silhouette Studio by tracing some clip art I found. i separated the colors and decided to use three colors of iron-on vinyl in this project- red, pink and light green. To do this project I just used some scrap I had leftover, I didn't even have to cut down a brand new sheet! The colors I used for this project were light green, pink and red.
If you're cutting words with HTV don't forget to flip your design! Because I'm only working with images and I don't mind if they end up reversed, I did not flip my design in Silhouette Studio software.
To cut my design on my Silhouette, I just used to the Heat Transfer-Smooth setting for my autoblade but below are some infographics that can helo you decide on the right cut settings for your machine.

After cutting out my shapes I weeded them. I have to say, weeding this material is pretty easy because it's so flexible. I tend to be impatient when i weed and sometimes I rip part of my design off the carrier sheet. But with this vinyl the carrier sheet is sticky so I can just stick the mistakes right back on!
Next I paired together tops of strawberries with bottoms of strawberries, cherry stems with cherries, apples with their stems and watermelons with their rinds. Because we're using two colors here, I trimmed the plastic carrier sheet pretty close to the heat transfer vinyl where the green and pink/red would touch. The trick is to not have the tops of the fruit touch the bottom of the fruit at all for this easy project, and this specific design made that easy because the colors don't touch anywhere.

You can layer HTV but it's a couple extra steps and we'll get into that another time!
While I was doing this I let my iron heat up. The directions say to let the iron heat to 300-320 degrees Fahrenheit but honestly the cotton setting should be fine on any iron!
Below are some recommended tips for using our Craftables Smooth HTV. The chart says medium pressure which is handy to know if you have a heat press, but if you're working with an iron "medium pressure"= as hard as I can press with my own arms. Don't drive yourself crazy but a good combination of pressure and heat will get you where you need to go! And don't forget you can always peel up the carrier sheet a bit to see how you're doing.

Once my iron heated up I put down my sheet of teflon paper and ironed on top of that, using maximum pressure from my arm and held for around 10 seconds.

I peeled up my teflon sheet and let the vinyl cool for 20 seconds because this is a warm peel material. After that I peeled up my vinyl, not at the speed I would peel off a band-aid but a bit slower than that. I find sometimes a super slow peel can sometimes lift off the vinyl if it's not applied with the most accurate iron and pressure.

I continued this process with all of the fruit and my bag was done in under 10 minutes!

I hope you all enjoyed this tutorial! If you're wondering where to find this cut file because you'd like to try it at home, check back soon! We're working on a bunch of fun stuff for all our customers :)
If you have any questions about this project of HTV, below is our product video on Craftables Smooth. I hope it can help answer any questions as well as provide a handy mini tutorial!