
How do I cut by color in Silhouette Studio?
Have you ever wondered how to separate images in Silhouette Studio? Learn how to work with more than one color of vinyl and how to separate images in Silhouette studio to elevate the look and strengthen your silhouette or cricut skills! If you were ever wondering how to cut vinyl by color in silhouette software, keep reading and in no time you'll learn! In this tutorial we'll show you how to cut one color at a time so you can cut multiple colors of vinyl from one design file.
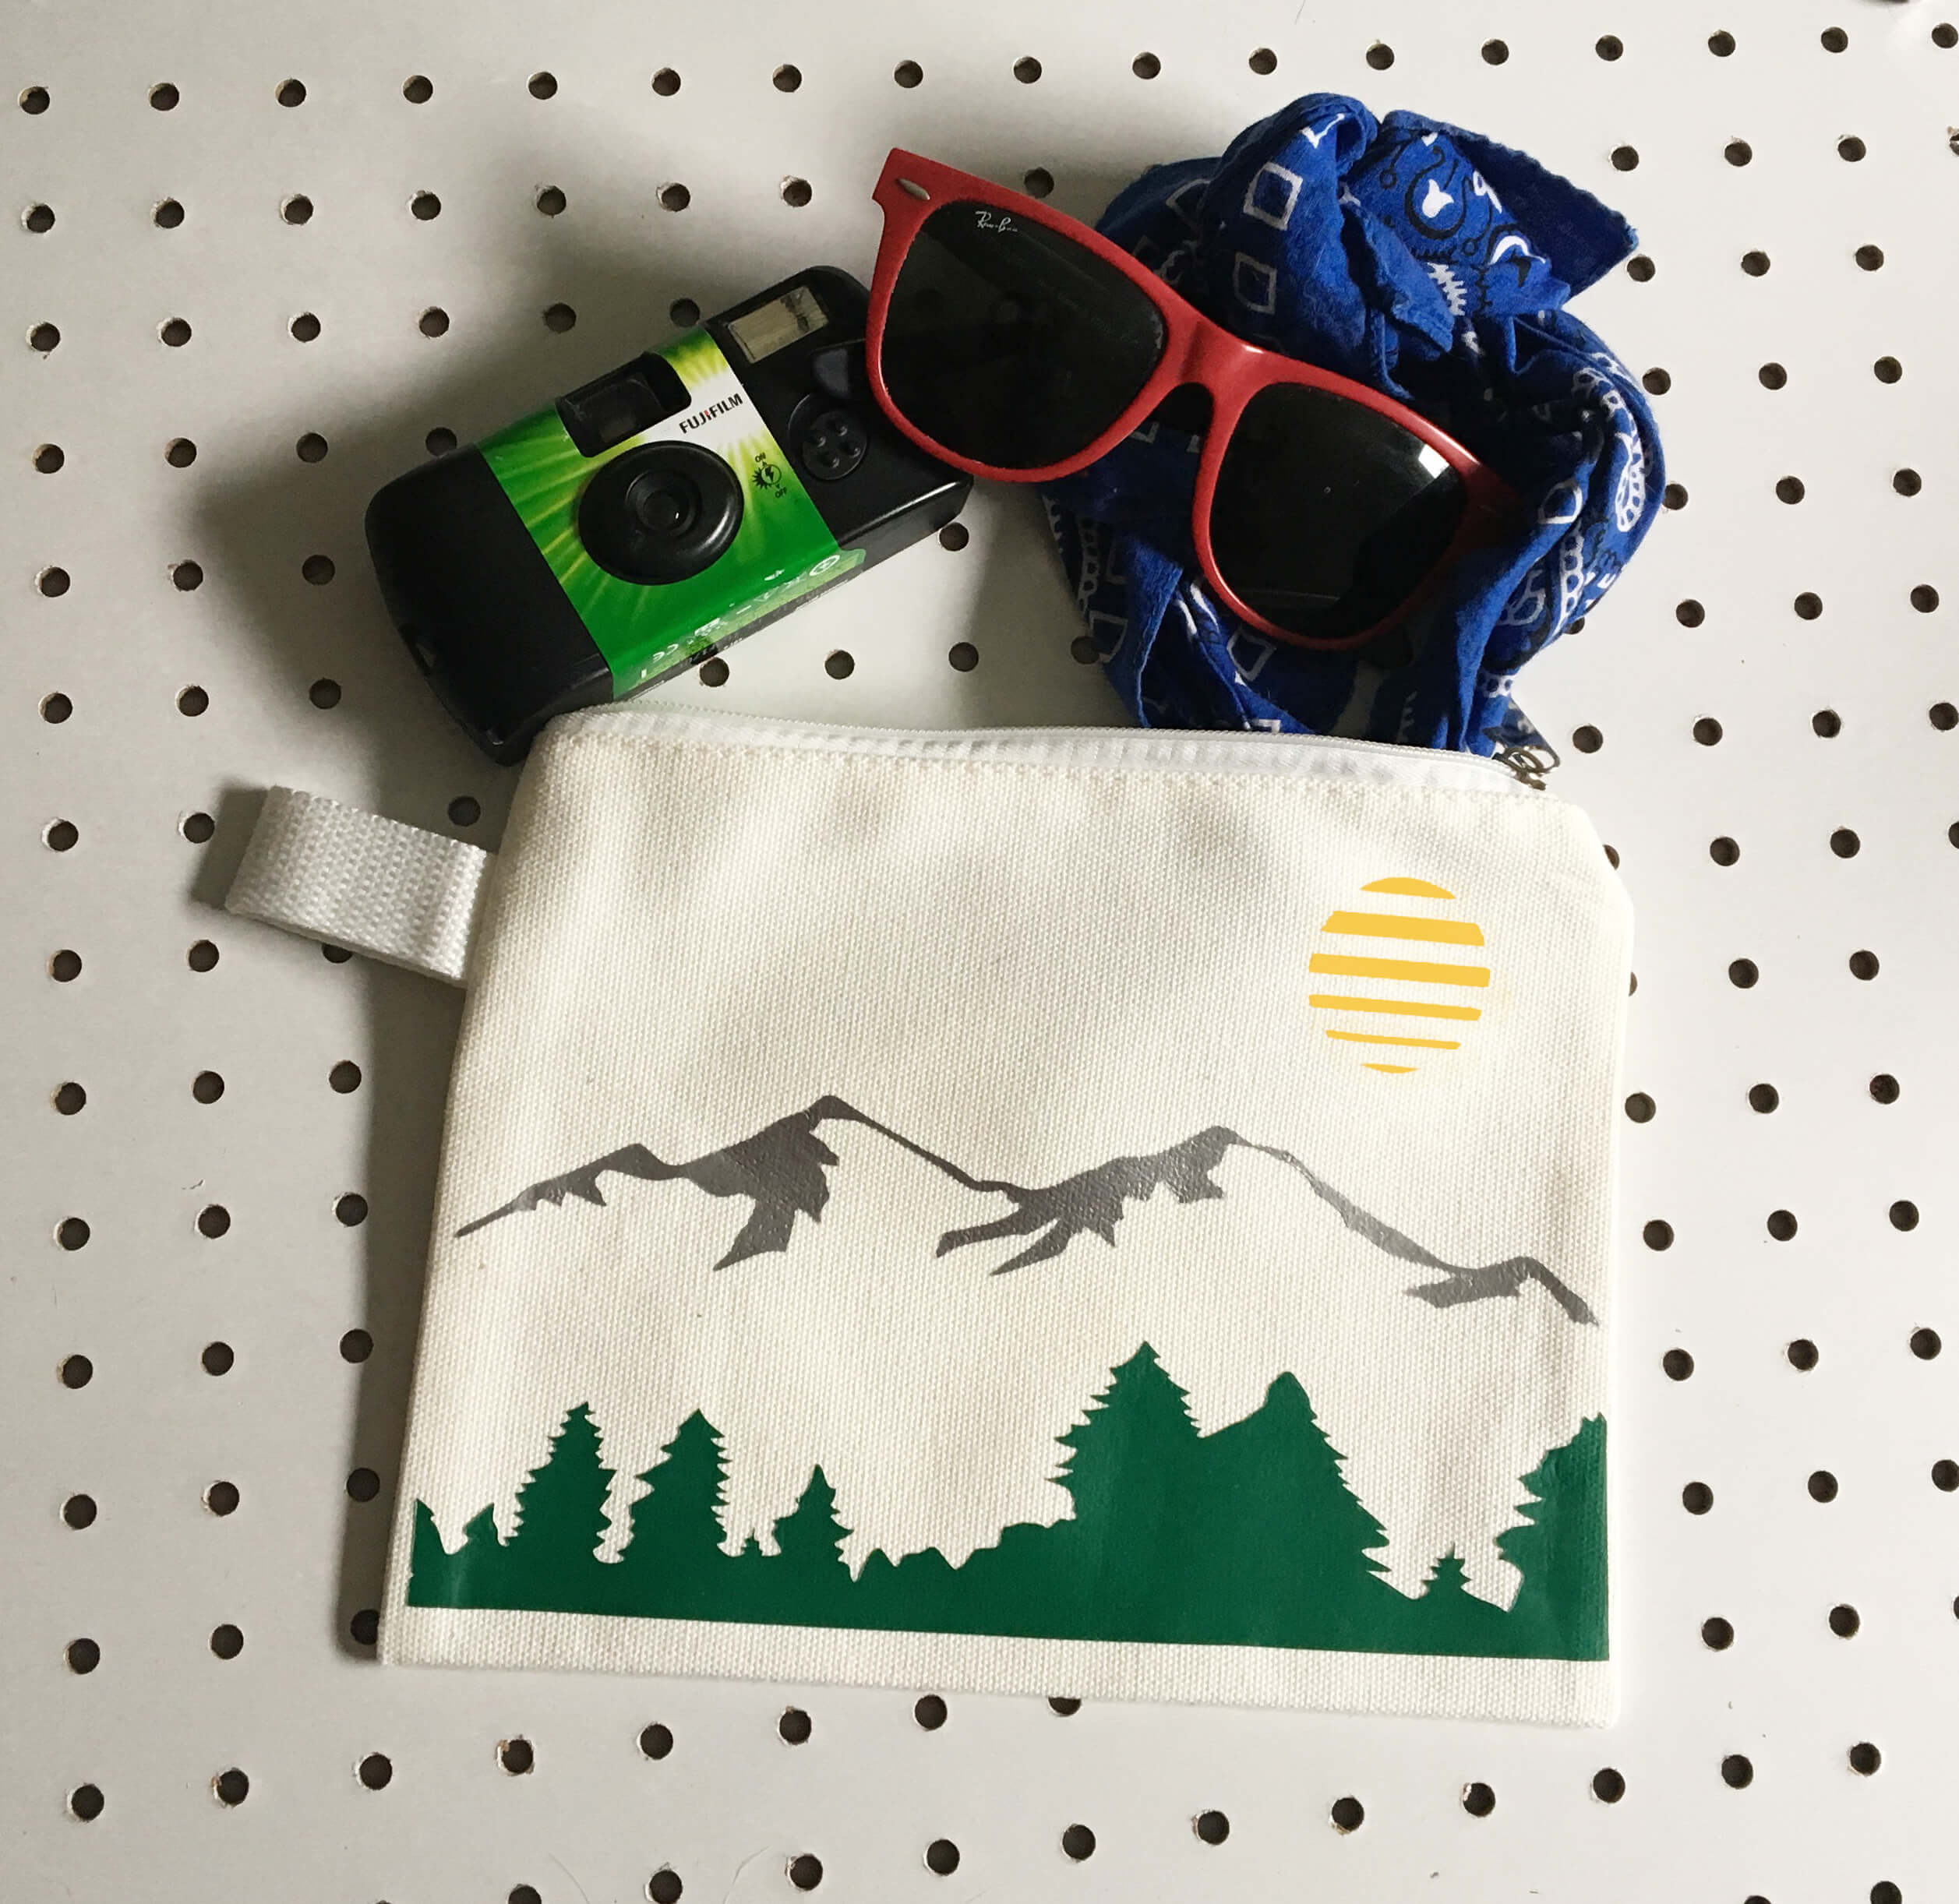
Today's project involves two fun ways to create your own pencil pouch, makeup bag, or clutch using a new skill- how to cut layers in Silhouette Studio!

We created two designs to get you inspired to customize your own back-to-school projects.

What you'll need:
- Craftables Smooth HTV
- an Iron pre-heated to 320 degrees (or the linen setting on most irons)
- a sheet of Craftables teflon paper
- Ironing board or heat protective surface
- Weeding tools such as a pick, pin or exacto knife
- any craft cutter you have
- craft cutting mat
- a blank pouch- make sure it is cotton or polyester!
This craft project is fun because it's easy to customize- make your friend a makeup bag for her birthday, make your children a fun pencil pouch for back to school, make your sister a pretty clutch or make yourself a little pouch to pack for an adventure! Make anything more lovely by cutting each color image separately but from one file in Silhouette Studio.

Step 1: Designing
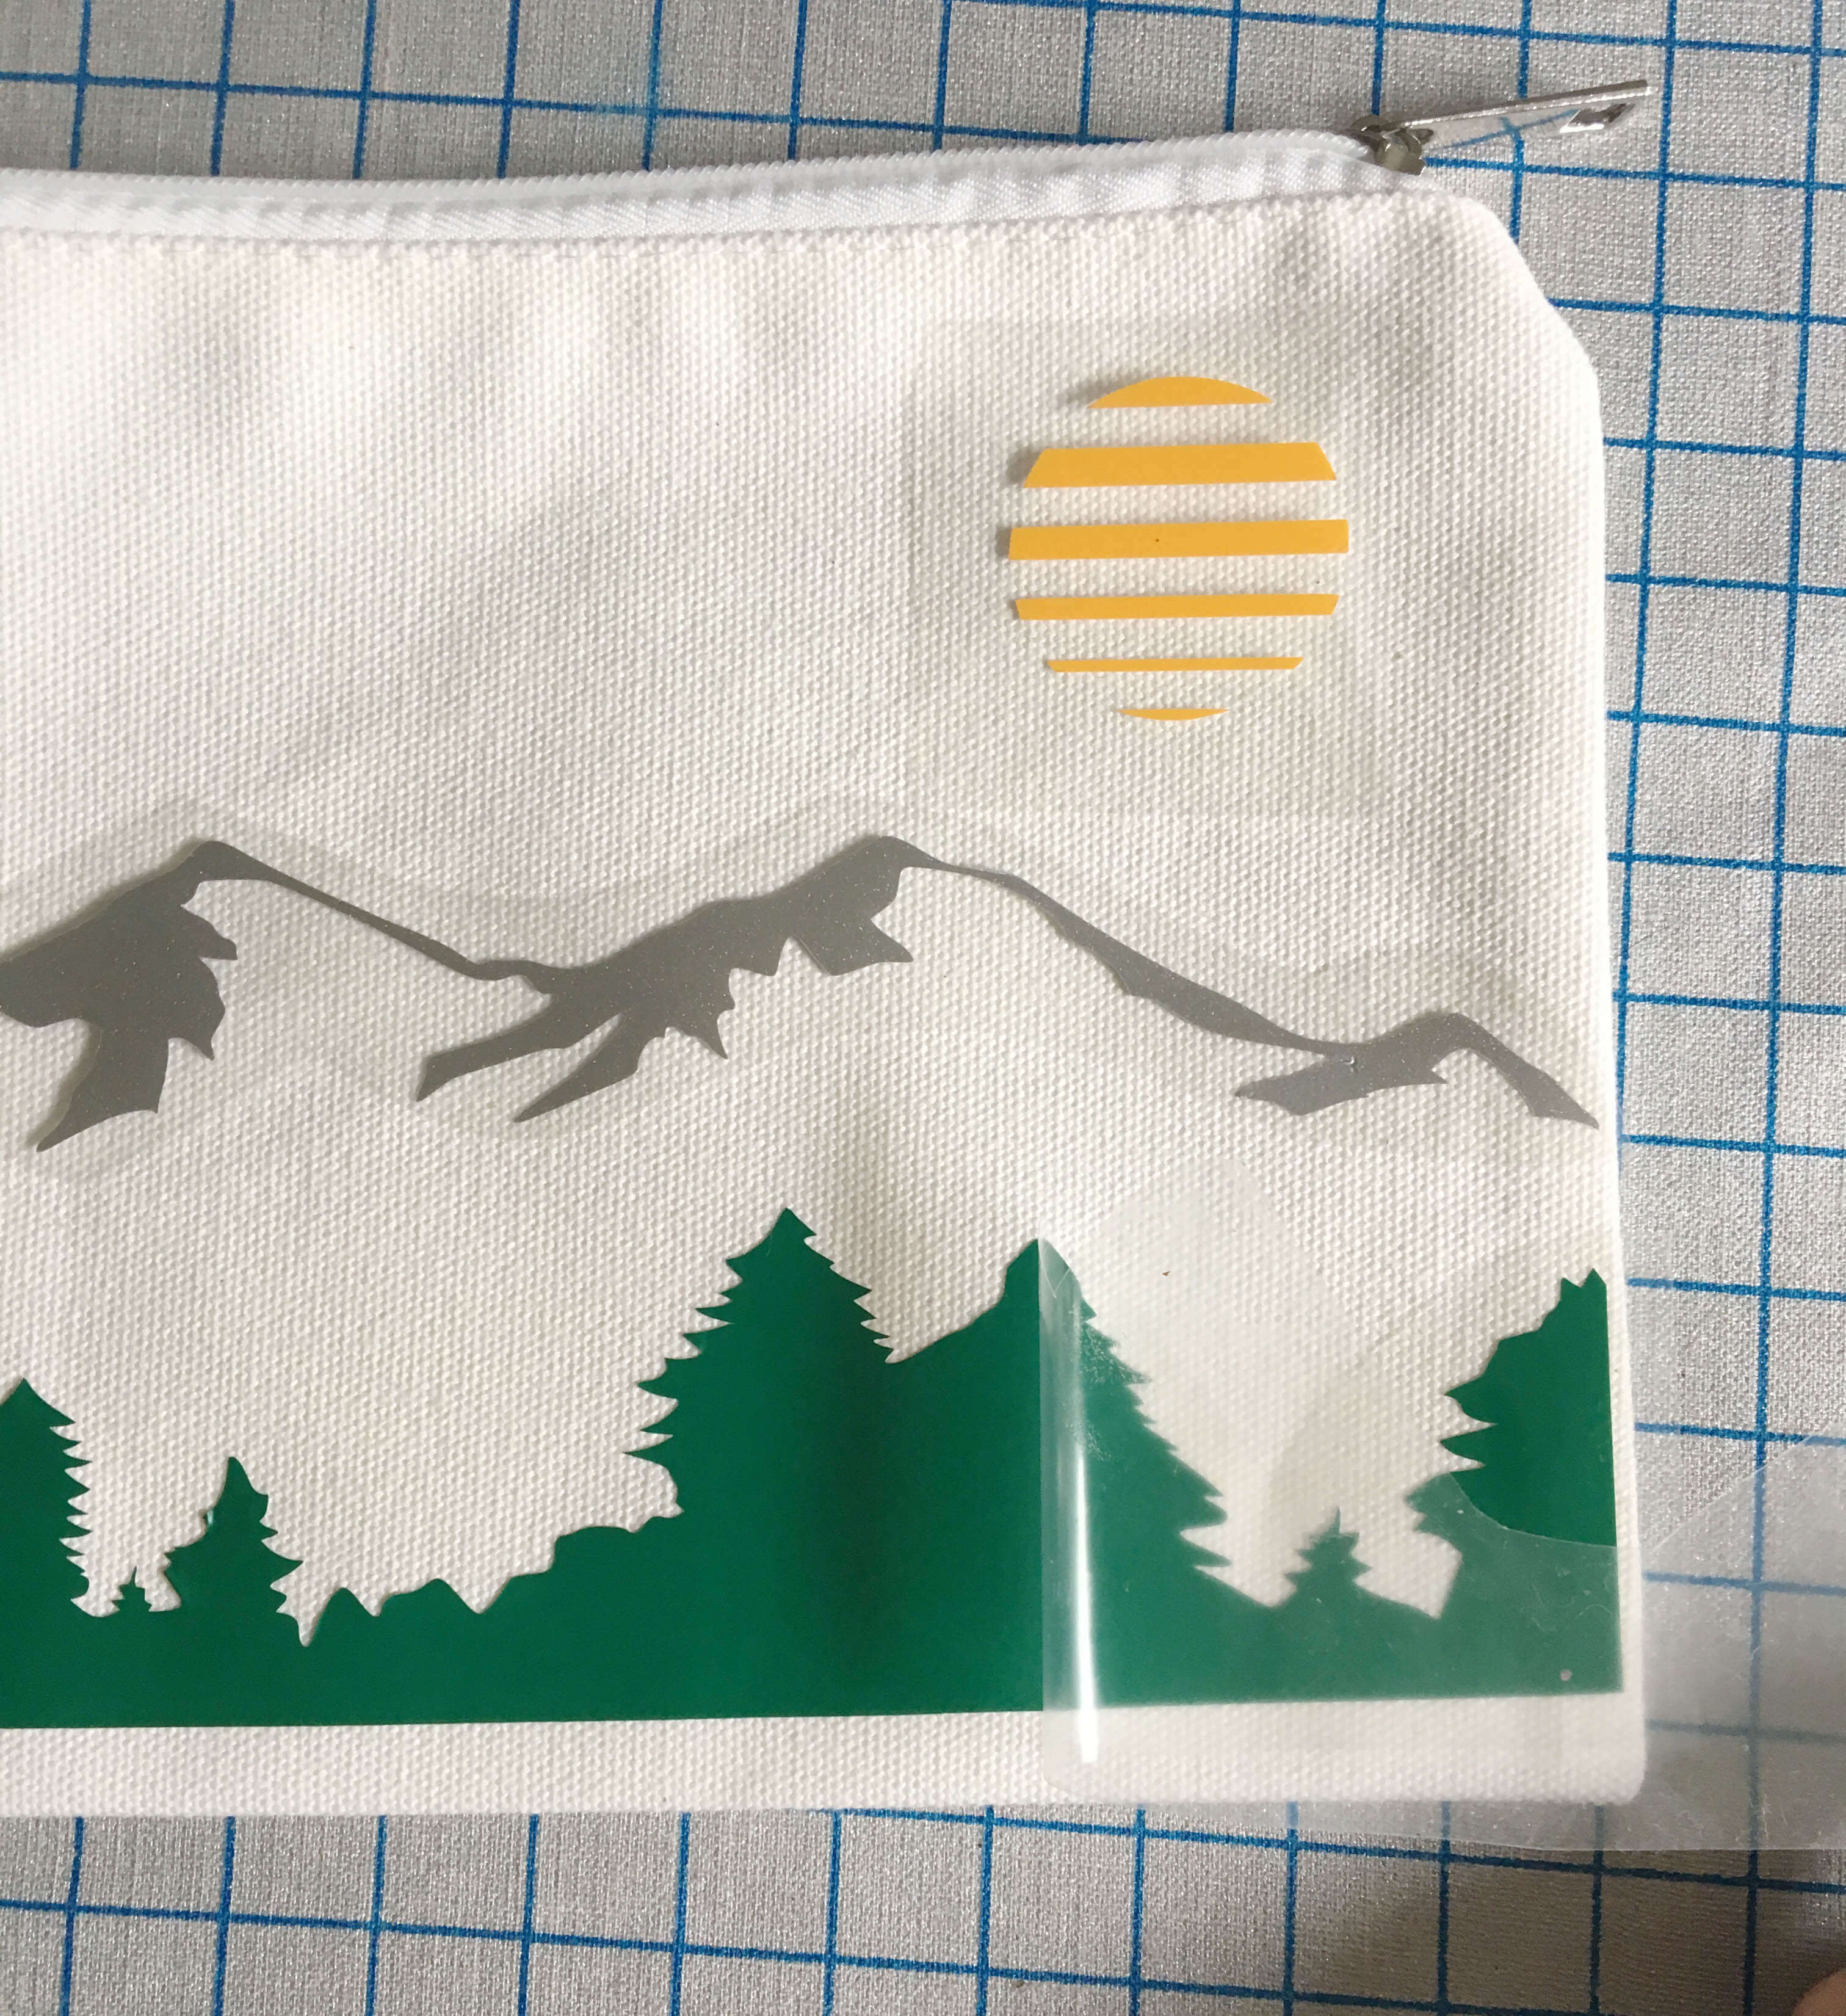
To begin, get your cutting design prepared. We started by measuring our blank pouch (ours is 9"x7") and created two designs in Silhouette Studio to fit within that size. Based on your design, you can choose which colors of vinyl to use.


We did a test cut and decided that these designs would look awesome on our pouches so we went ahead and sent the design through the machine!
We cut each design by color because each design was three colors. To do this, navigate to the cut settings menu and click "advanced options". Then switch your cut mode from standard to advanced. Click "fill color" and then choose your cut order. Make sure to add a pause in between colors (so you can change out your vinyl!) by clicking on the color. The pause will occur AFTER the color you choose so make sure to only add the pause on the first and second color if you're working with three colors like we are here.
Your screen should look like this:

Step 2: Making the Cut
Make sure each material is set to cut "heat transfer-smooth" and you're ready to start cutting! Remember, your design will cut in reverse. If you are including text, don't forget to flip your design!
Place your t-shirt vinyl shiny side down on your mat and load it into your machine.

Once each color has been cut, it's time to weed!


Step 3: Weeding
Both of these designs are fairly simple to weed, when I got to weeding the trees in the mountain design it helped to pick out the areas between the trees before weeding the rest, just to make sure that I didn't accidentally pull any of my design off the carrier sheet.
Once all pieces were weeded, I cut the carrier sheet down so there was enough sticky sheet left to stick to the pouch but not too much left because you don't want any of the carrier sheets to overlap when applying multiple colors.

See how none of the carrier sheets are touching?

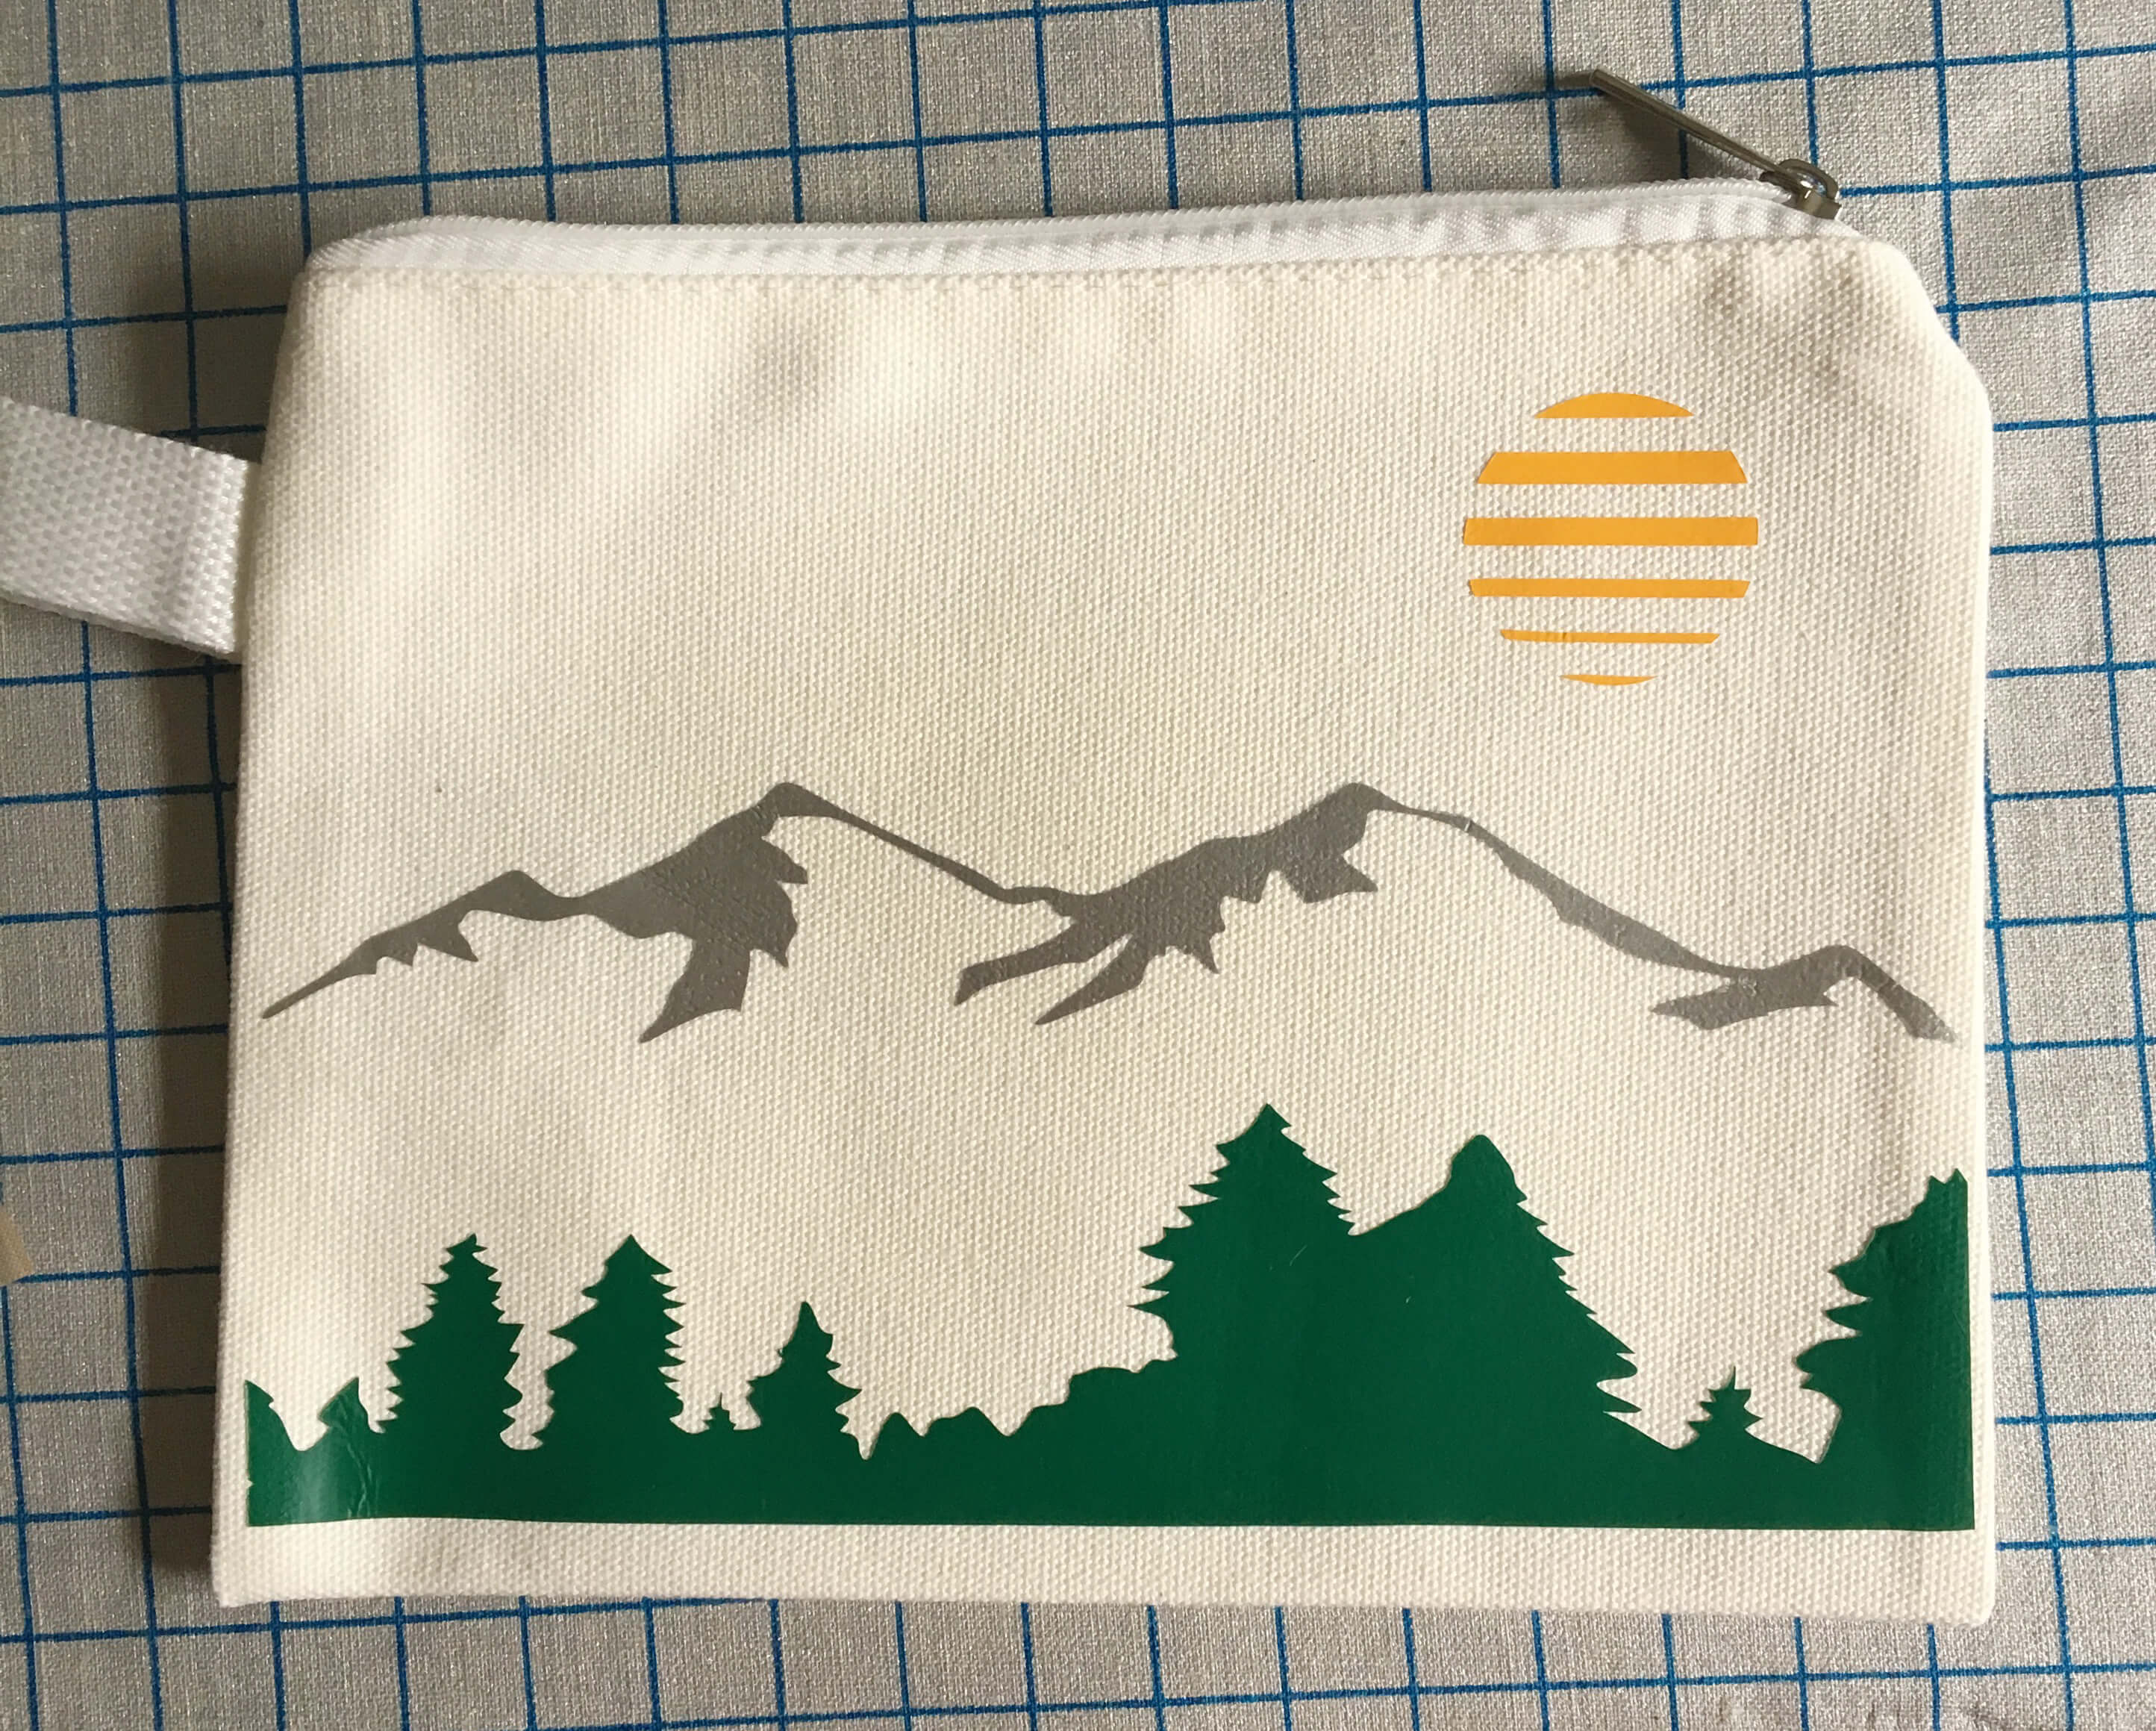
Step 4: Ironing
If by this time your iron has heated to 320 degrees, you're ready to start ironing! Don't forget to put your teflon sheet between your design and your iron before you get started.

Make sure to apply medium pressure for 12 seconds and to let the design cool for at least 20 seconds before peeling the carrier sheet off.
Once peeling up the carrier sheet, I like to put the teflon sheet back on my project and hit it with an iron just one more time to make sure my iron-on vinyl is really on there good. If you're confused as to which heat settings will work best with your vinyl, here's our handy heat settings cheat sheet.
Besides that, you're all done!

We hope you loved this tutorial and if you have any ideas, comments or questions feel free to leave them below!
