We've done a tutorial on how to layer vinyl with a Cricut so today we have something similar for all you Silhouette users- how to layer adhesive vinyl using the registration marks method.
Just to be clear, this method can be used for Silhouette or Cricut but in this tutorial we will feature screenshots from Silhouette Studio.
Also, this method only works for adhesive vinyl. We're already working on a blog post on layering HTV so stay tuned!

Please welcome guest poster Brianna who is going to be walking you through this technique.
Brianna is a part-time blogger and is the owner of Hazel Jane Designs, and runs her business through Etsy and Instagram. Brianna is married to her high school sweetheart and is Mom to two sweet fur babies.
Spring in Nashville means the weather is up and down and up and down. And rainy! To counteract this crazy weather, I partnered with Craftables to make something to help brighten up this weather- a planter using Craftables layered adhesive vinyl!
What you'll need:
- A cutting machine
- Adhesive vinyl (I used Craftables Glitter and Metallic adhesive vinyl)
- Weeding tools
- Squeegee
- Transfer tape
To make this planter, I had to get a little technical and layer my designs. I'm going to show you how to do a 2-color layered design. To me, the most important part of layering vinyl is the initial concept that you create in your design program. So to make sure that your design lines up perfectly, the key is to create one design, copy it, then delete from each copy what does not need to be cut in the colors you have chosen.

Step 1
Create the initial design. As you can see, I have put 2 rectangular boxes on the top of my design. This is crucial, as it makes lining up the layers once they have been cut so simple! And we love simple. Make sure that you center the middle part of the flower vertically and horizontally with the outer portion of the flower. If you don't do this, your final design will be slightly off.

Step 2
Copy the design. For the flower on the left I removed the smaller, top layer and for the flower on the right I removed the larger, bottom layer. Now, separate the layers.
Step 3
It's time to cut! You can either cut the flowers separately with one color per cut or cut them together with both colors of vinyl on the same mat. I cut mine separately for the simple reason that different vinyl have different thicknesses and therefore use different cut settings.

Step 4
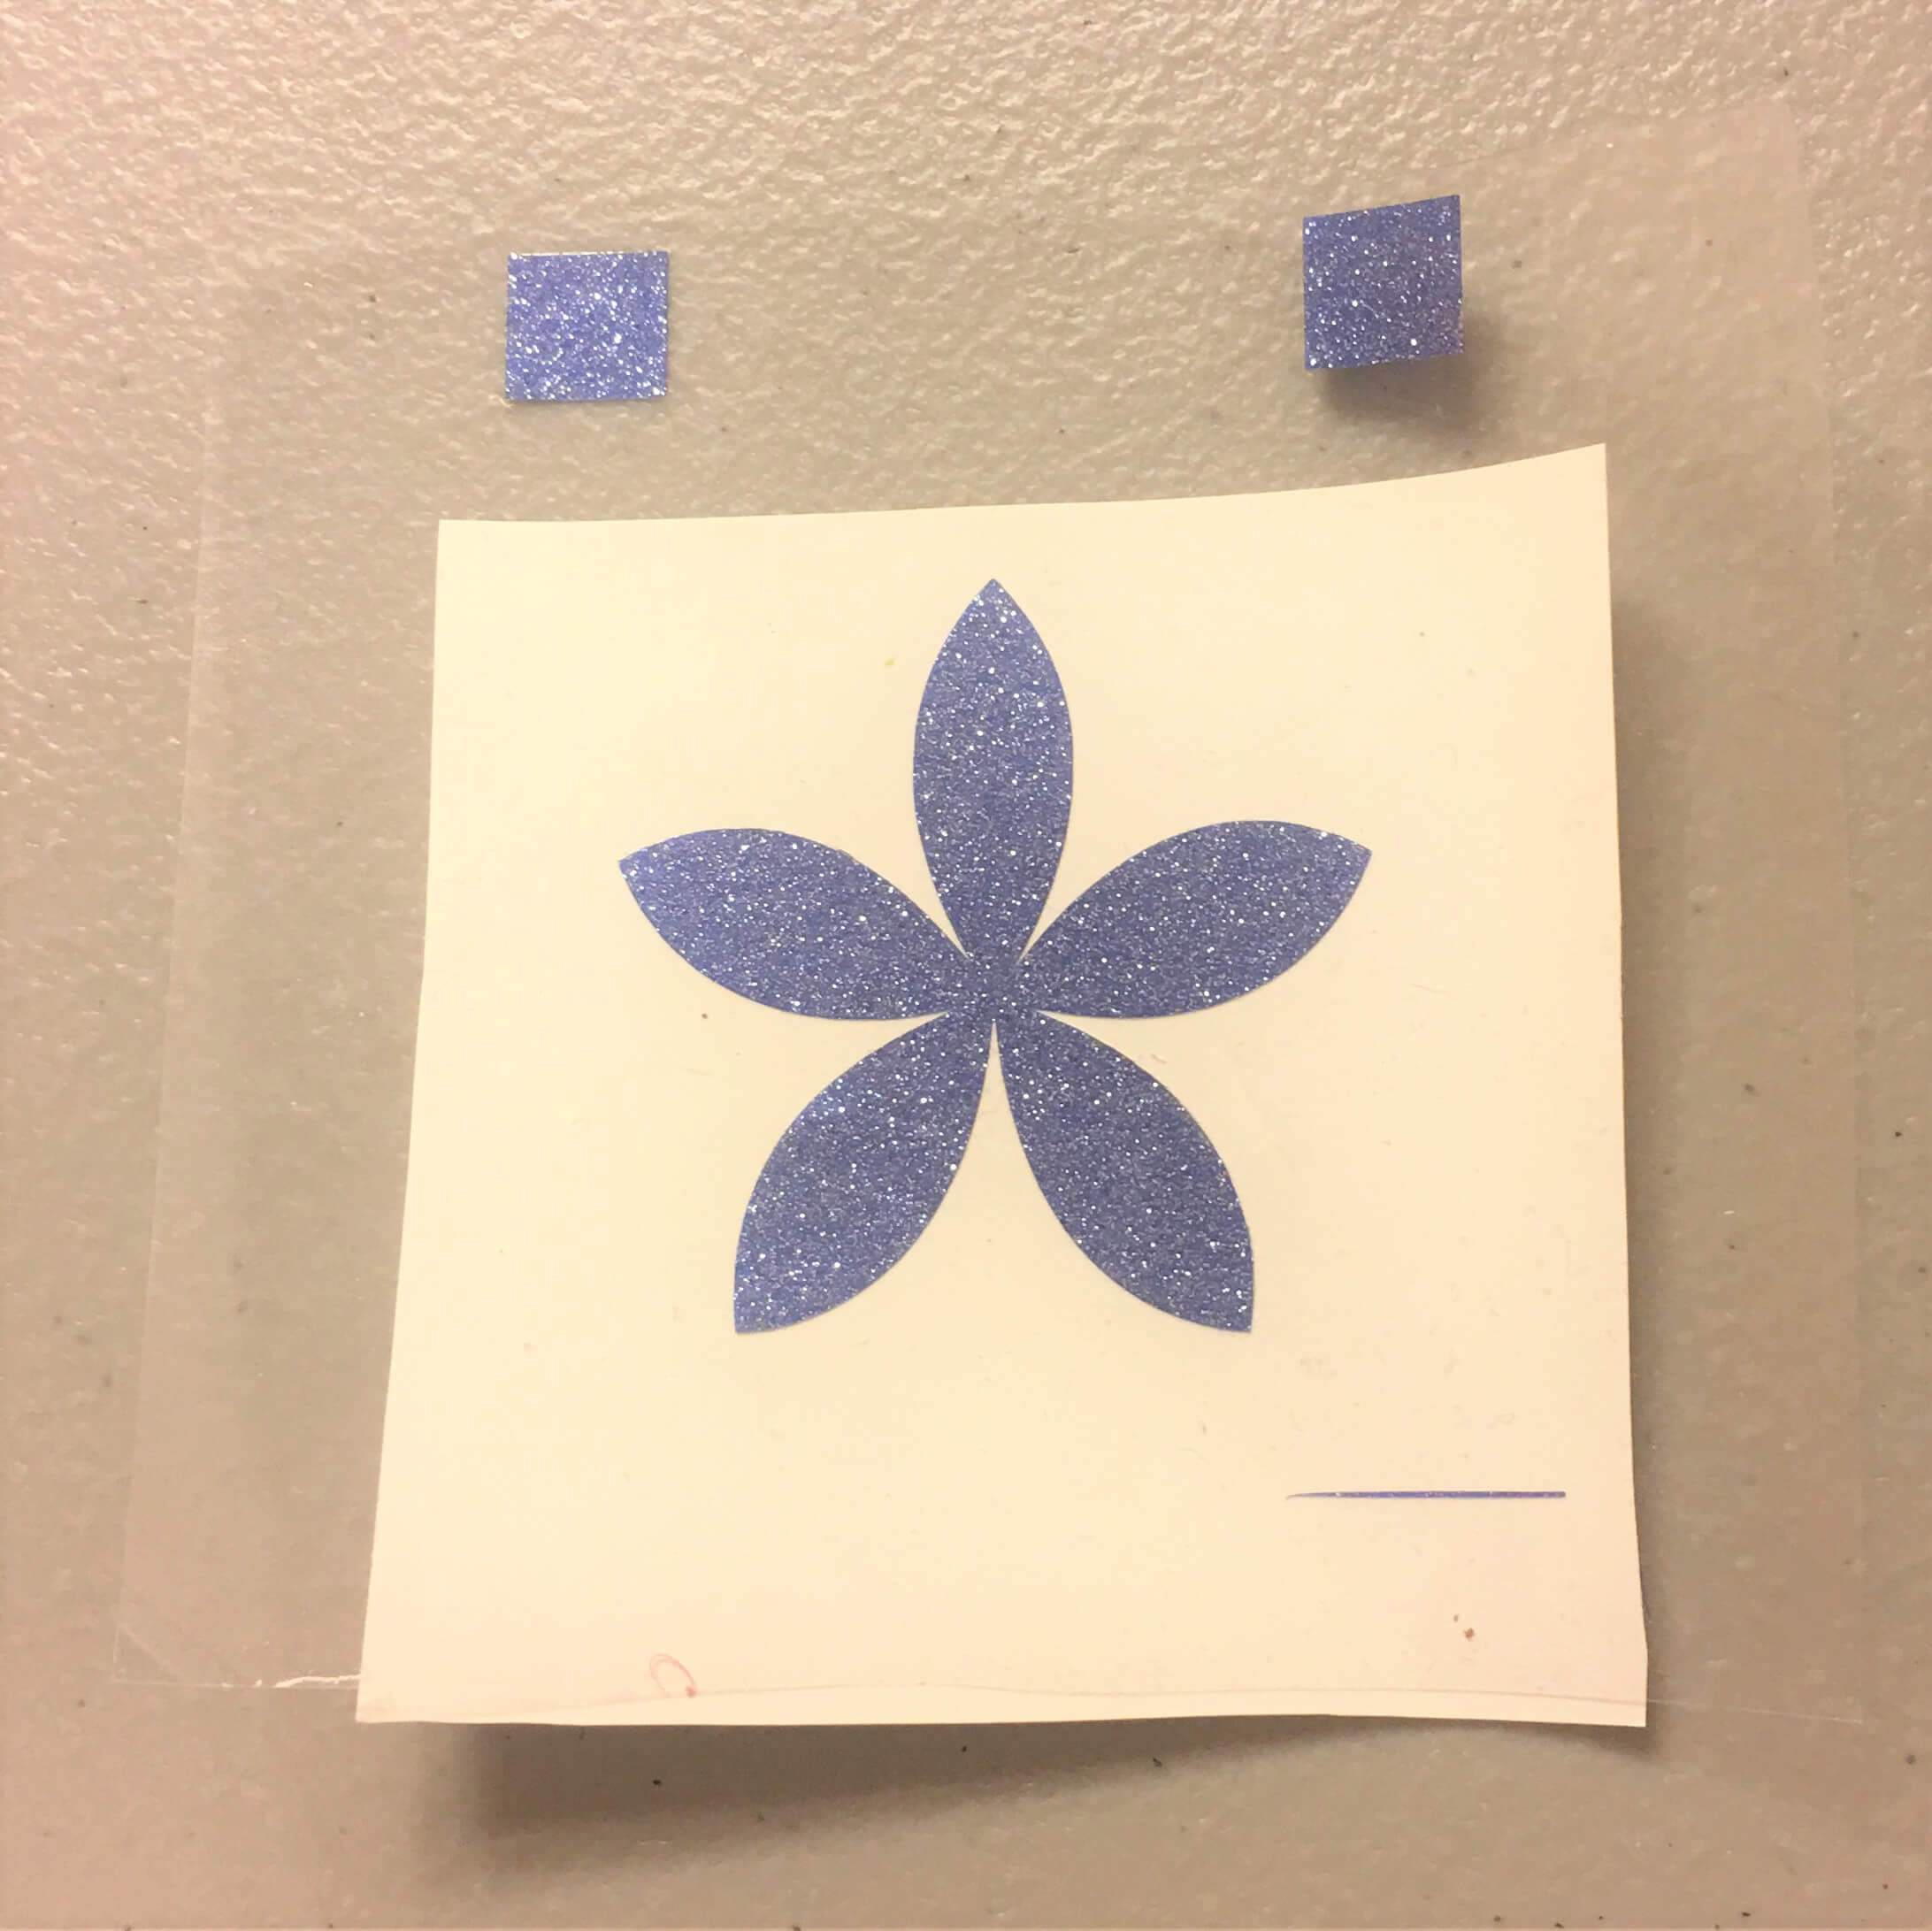
Now that your vinyl is cut, it's time to weed! Weeding is the process of removing the excess vinyl. Here are my decals fully weeded, my bottom layer is on the right and the top layer is on the left. You can see here that I kept the boxes at the top. As I said before, those boxes are super important for layering your design perfectly.
Step 5
When you are layering your designs, the top layer is the layer you will be working with first. Put your transfer tape over the entire design, including your boxes at the top!

Step 6
Peel your design off your carrier sheet and then immediately place your design back on your carrier sheet so only the top boxes are not on the carrier sheet.
Step 7
Now it's time to layer these flowers! Take your smaller top flower and line the boxes up with the boxes on the bottom layer.

Step 8
Once the boxes are lined up, you can remove the backing from the top layer and slowly adhere it to the bottom layer. Go slowly so there are no bubbles or creases in your design.


Here is the end result!

I reversed the colors here for another flower option for the planter.
Below is a step-by-step image guide for all the shapes I added to the planter! This is just a plain white planter that I bought from Amazon.


