The trace function is one of the most useful tools in Silhouette Studio and today we're going to show you how to trace from a photo!
This tutorial is how to trace a photo in Silhouette Studio.
We consulted our Silhouette crafting expert Shannon to provide this tutorial for you today.

Hello! My name is Shannon Castle. I own Natalie Grace Designs and am also a mother of 5 kiddos, ranging in ages 27 to almost 8, and am married to my sweet husband of 9 years. Mikayla Grace is our baby and has her daddy wrapped around her little finger since she was born. I am always looking for something creative and different for Gracie to give her daddy for Father's Day. He is super sentimental and keeps everything she ever makes for him. Plus, she loves being able to craft with her mom!
So I am super excited to share our Father's Day project with you!
Supplies you will need:
- White poster board- we found some at Wal-Mart that had a pretty glitter edge around it- I think it was a package of 5 for about $4
- Paints- choose medium to dark colors so that you can get a good trace for your design before cutting it.
- Craftables Smooth HTV in your choice of colors! They have such an awesome color selection!
- Craftables Teflon Sheet- a definite must!
- Iron or heat press
- t-shirt
- phone to take pictures!
- Silhouette Cameo 3 or cutting machine of choice!
Step 1
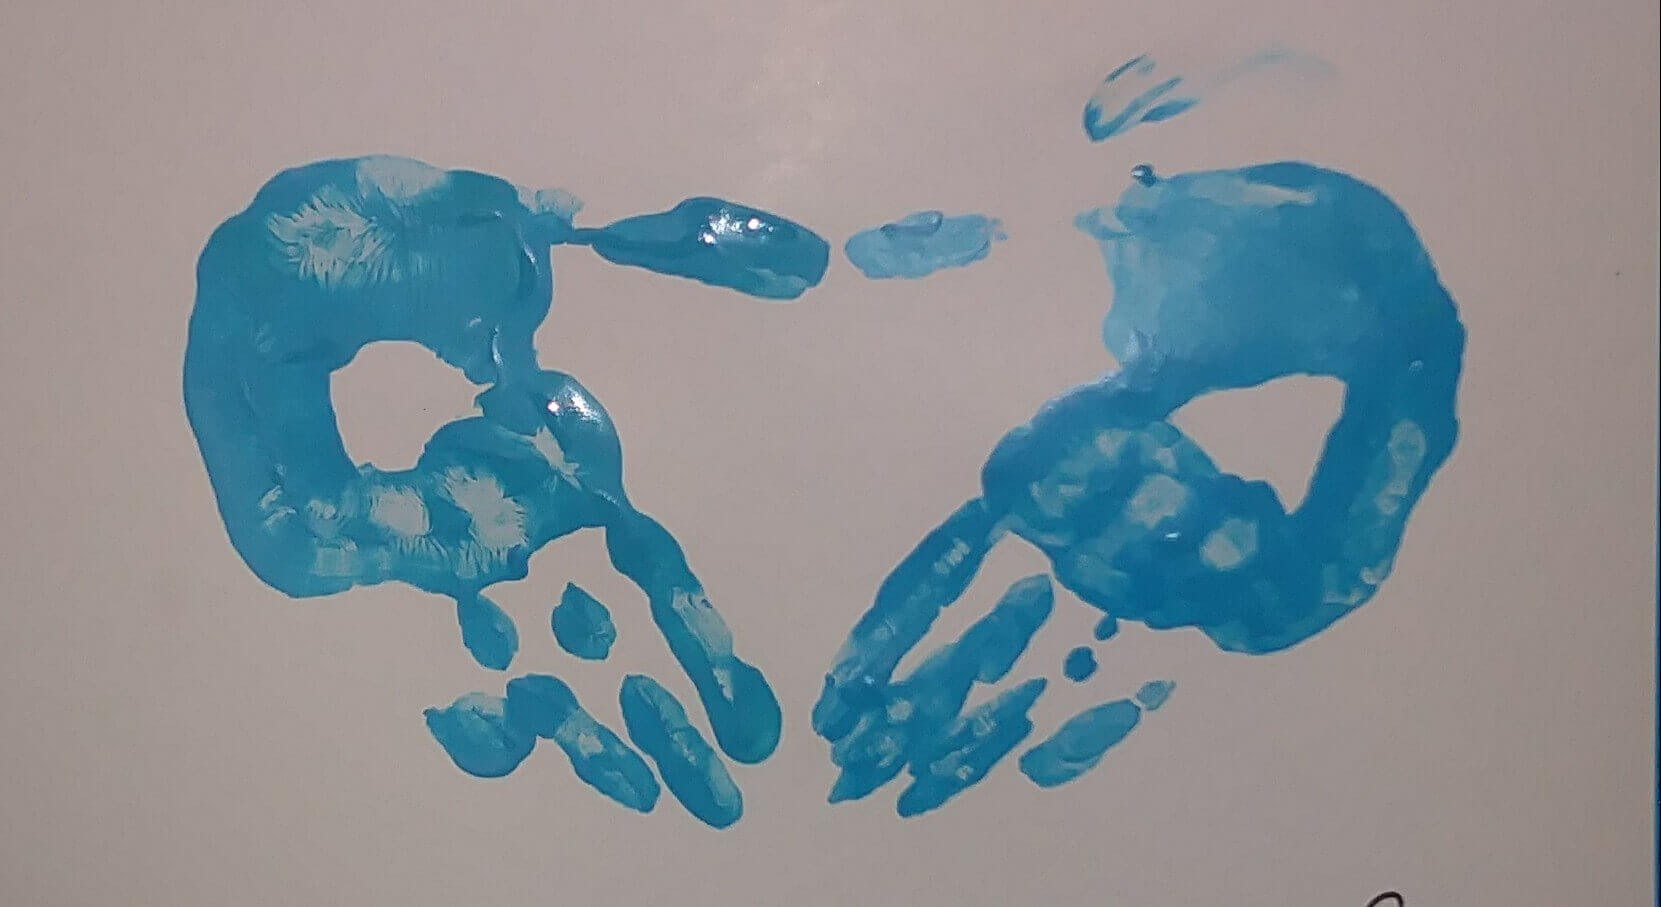
Gracie and I started out by painting a picture on a piece of white poster board. We will include this with Daddy's gift since he loves to hang her art on the wall. I made sure to use a fairly dark paint so that when I took a photo of it and transferred it to my Silhouette Design Studio, it would be dark enough for it to trace without having to trim around her hands.

I definitely suggest doing this either outside or somewhere you can clean up easily! Gracie and I are definitely not very neat!

Step 2
After we made our pictures and cleaned everything up, I took a photo of her picture with my phone and transferred it to my computer and then into my Design Studio. I got it to the size that I wanted and then traced around her hands and cut them out. To trace around her hands, I selected only her painted hands with the marquis. This is why you would want to use a dark color for painting! After the hands are traced, I did clean it up some of the little marks so that I didn't have a bunch of little cuts in her hands when I sent it to my machine.


Step 3
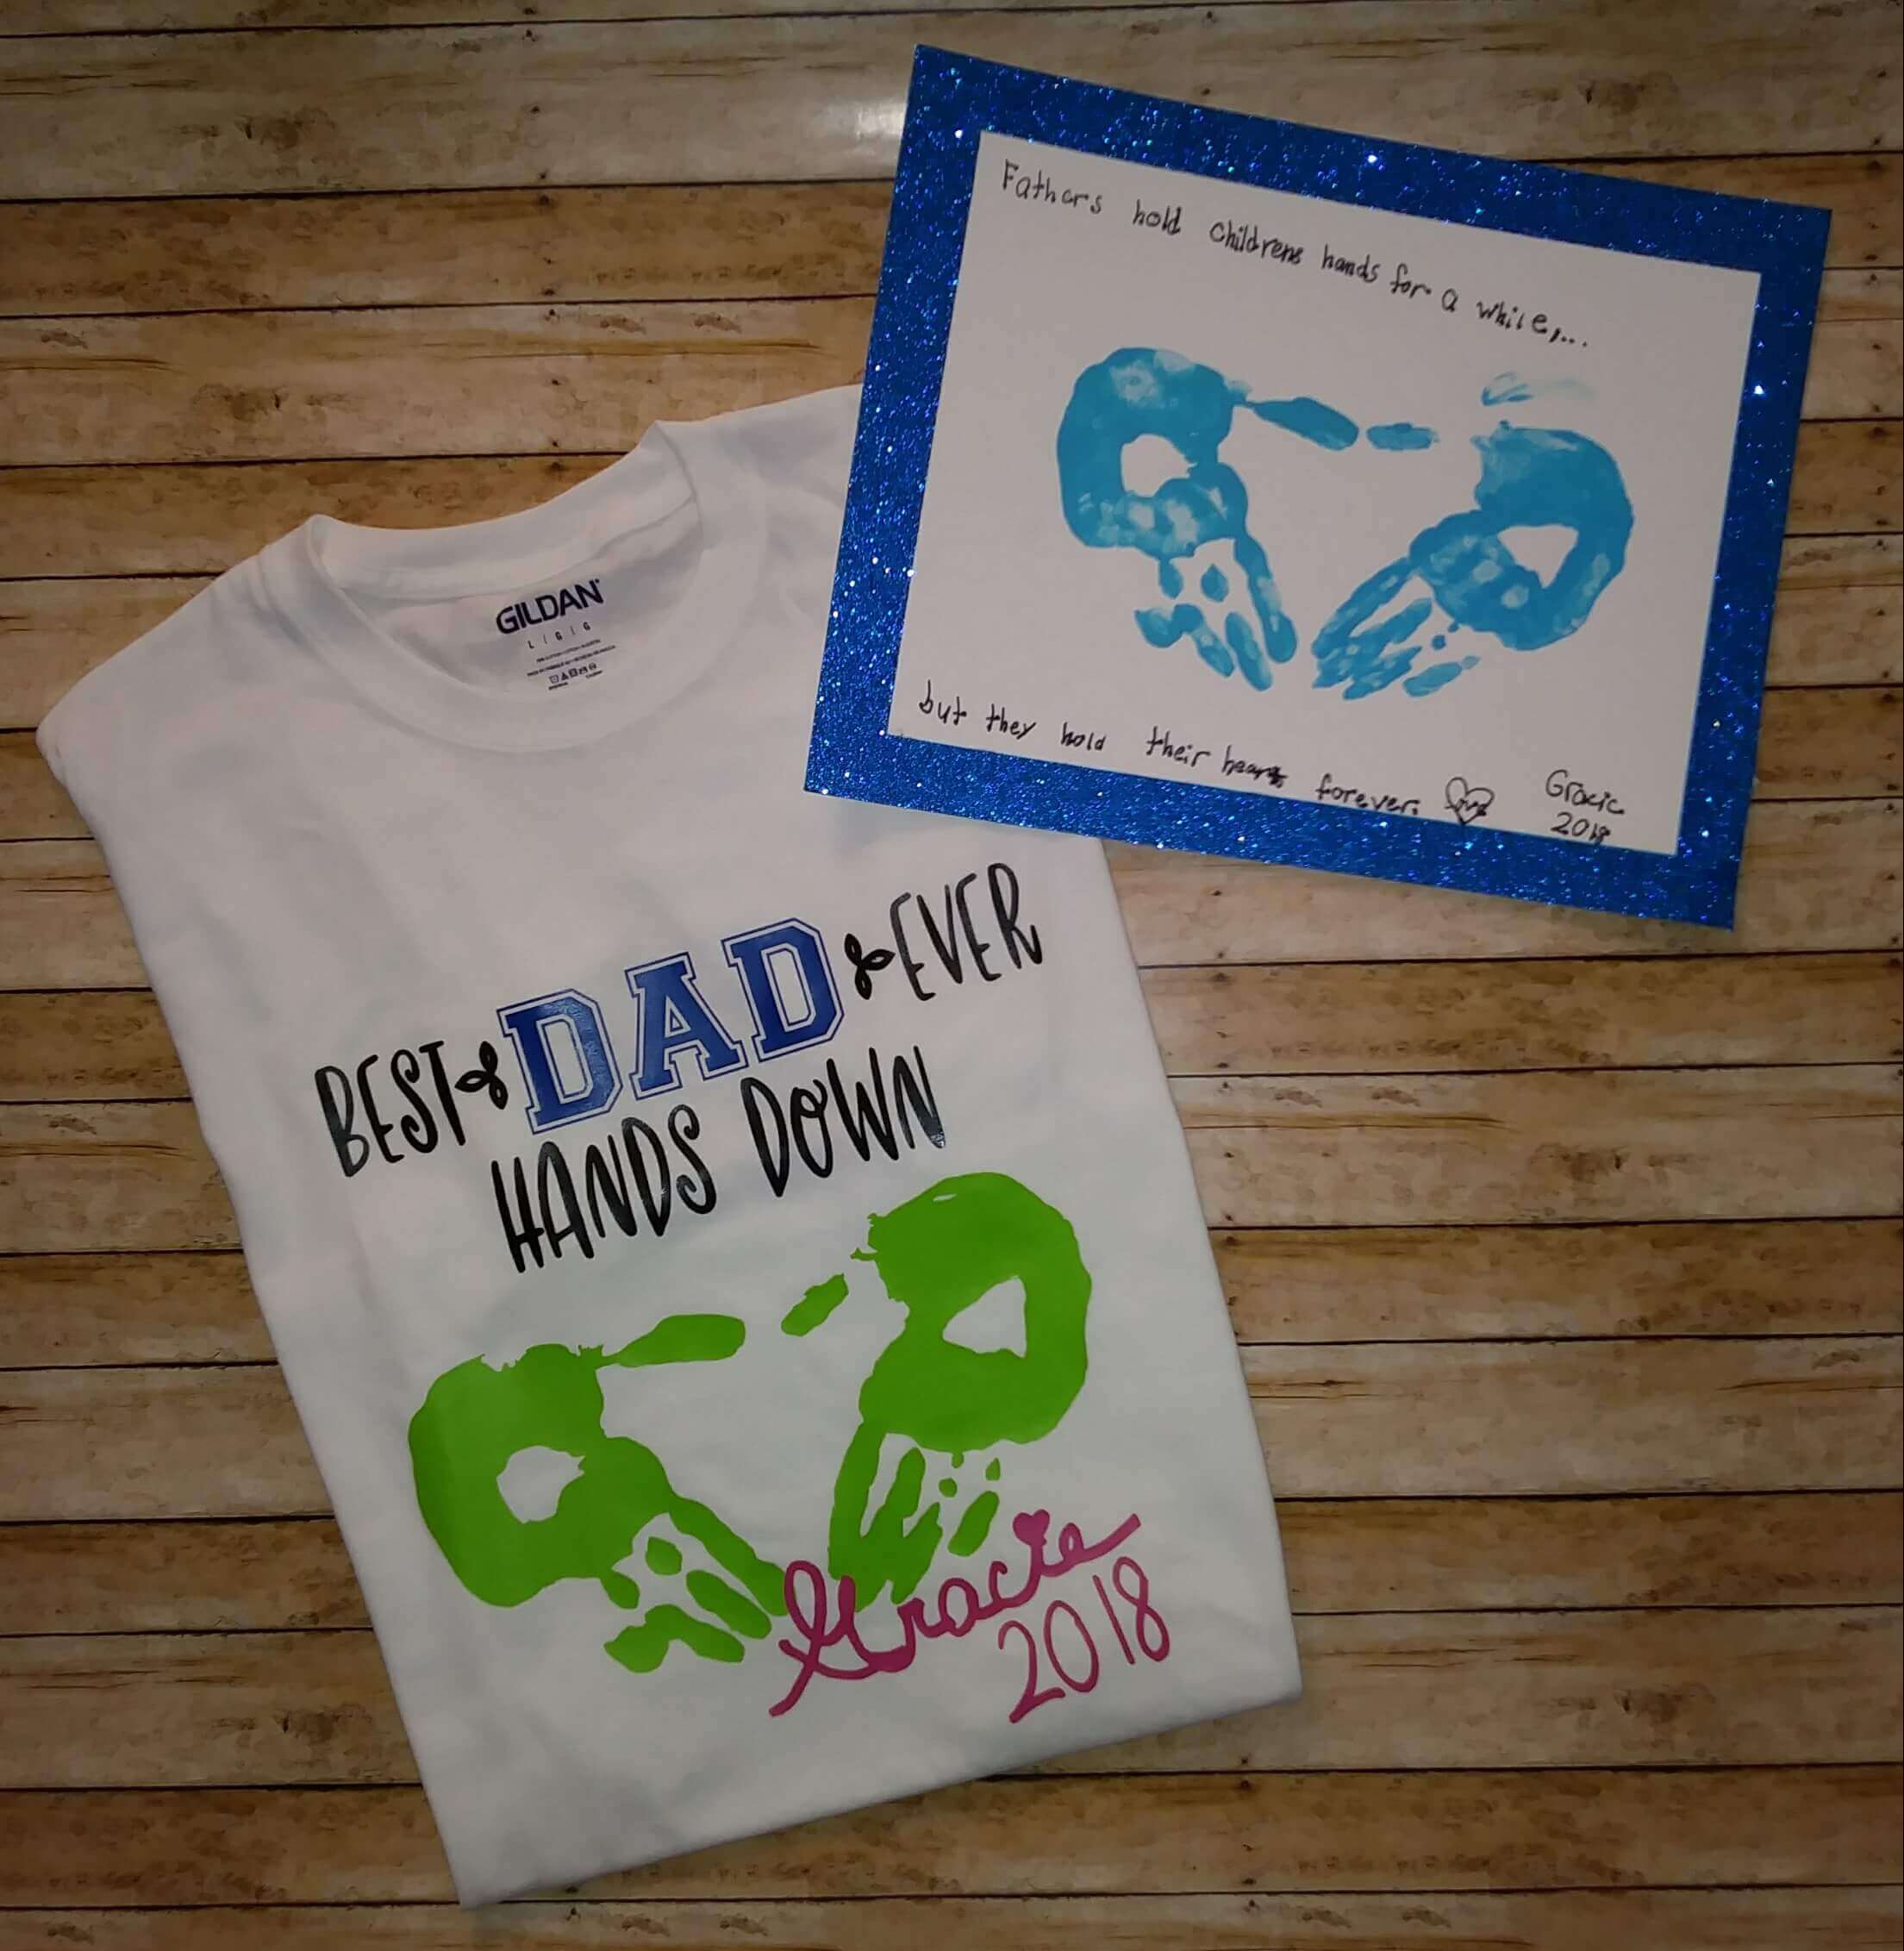
I then cut out her hands in the Craftables Smooth Bright Green HTV. I like how it stands out against the white t-shirt! I then used some of the fonts that I had to make the saying - Best DAD Ever, Hands Down. I cut that out of the Craftables Smooth Black HTV except for the DAD and I cut that out of the Craftables Smooth Royal Blue HTV.

Step 4
We put the words on first so that we would know where to place the hands. We pressed those on and something was missing. Definitely needed to have Gracie's name on there and the year that we made our shirt, so I had Gracie write her name and the year on a piece of paper and took a photo of that and sent it to my computer and cut it out in Craftables Smooth Fuchsia HTV. Perfect finish! She was also thrilled that her handwriting was on Daddy's shirt!

And Ta-Da!! Our Father's Day gift is complete! What a great way for a father to have a keepsake of those sweet little hands that grow up so quickly!!
Thanks for stopping by! Follow me on Instagram, @nataliegracedesign or stop by my Etsy shop to check out my latest creations!
Happy Crafting!
