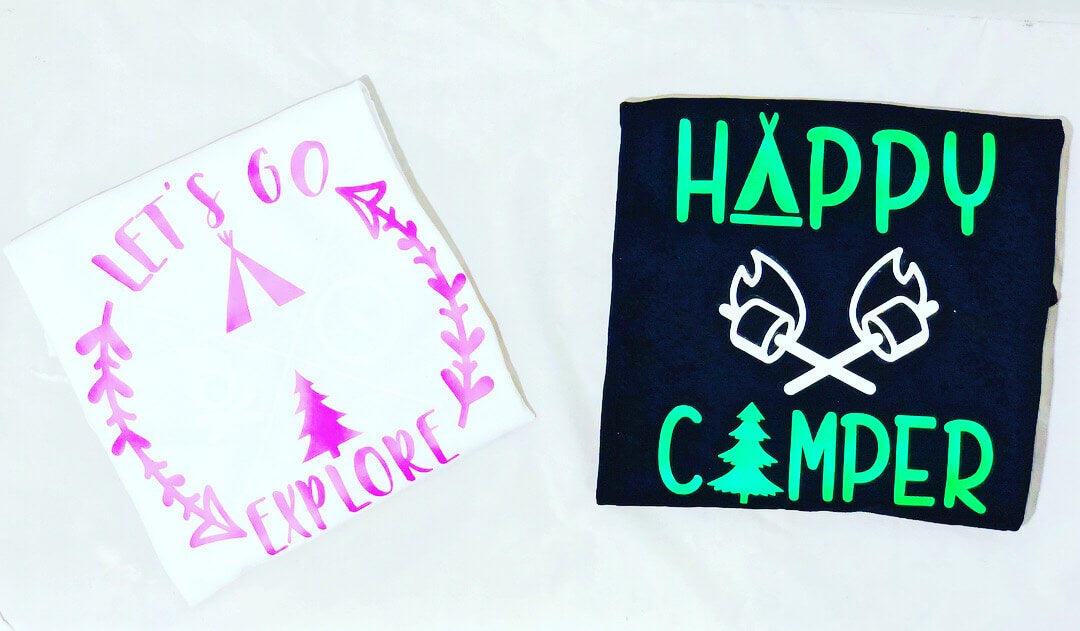
Today on the Craftables blog we want to show you how to use one of our most fun products- our only vinyl that can take you from day to night- our Craftables glow in the dark heat transfer vinyl! Never used glow in the dark heat transfer vinyl? Don't stress, it's easy! We have Jamie here from Partyof5creations to guide you step-by-step and you'll be applying glow in the dark htv and layering it with smooth htv in no time!

Some of my family's greatest memories are made while camping. But I won't lie, I'm a worry wart that has to keep a watchful eye on my littles. I started putting glow in the dark material on their shirts for nighttime activities and quickly realized during a game of night-tag that I was able to locate all of my kiddos due to the bright green luminous designs. Ah ha!! Fun for them and it keeps me sane!
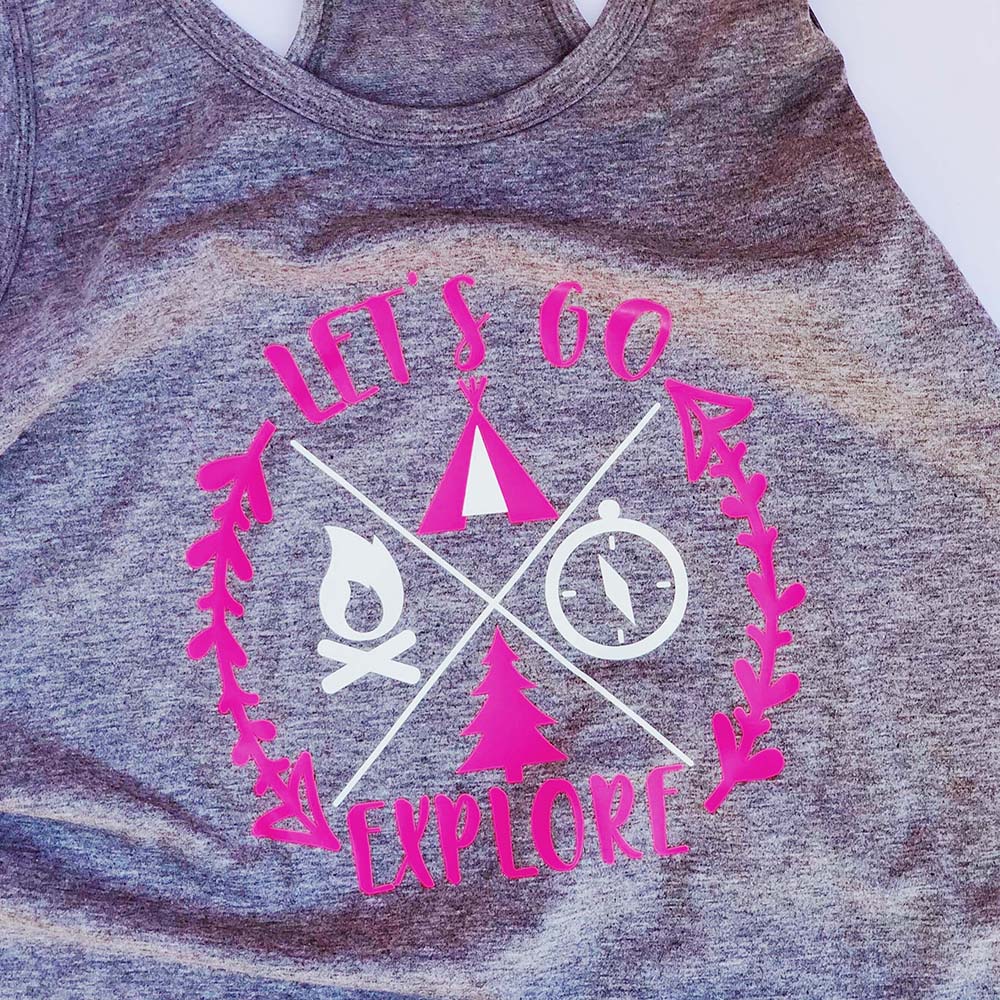
You can create your own glow in the dark HTV camping shirts with you cutting machine. My step by step instructions will help you make a custom t-shirt that will glow for hours!
Supply list
- Craftables Glow in the Dark HTV
- Craftables Neon Pink HTV
- Teflon Sheet
- Shirt or Tank Top
- Scissors
- Cricut, Mat and Weeding tool
- Heat Press or iron
Step 1
Choose your graphic of choice and make sure your measurements are accurate before sending to your cutter. I’m using a Cricut and will reference that. Make sure your image is mirrored or flipped in Design Space before you begin your cut. If not, the image will appear backwards on the shirt.
Step 2
Place your HTV on the Cricut Mat shiny side down. For Glow in the Dark HTV, remove yellow film and place shiny side down on mat.


Step 3
Set your heat press or iron to 310 degrees while your machine is cutting.
Step 4
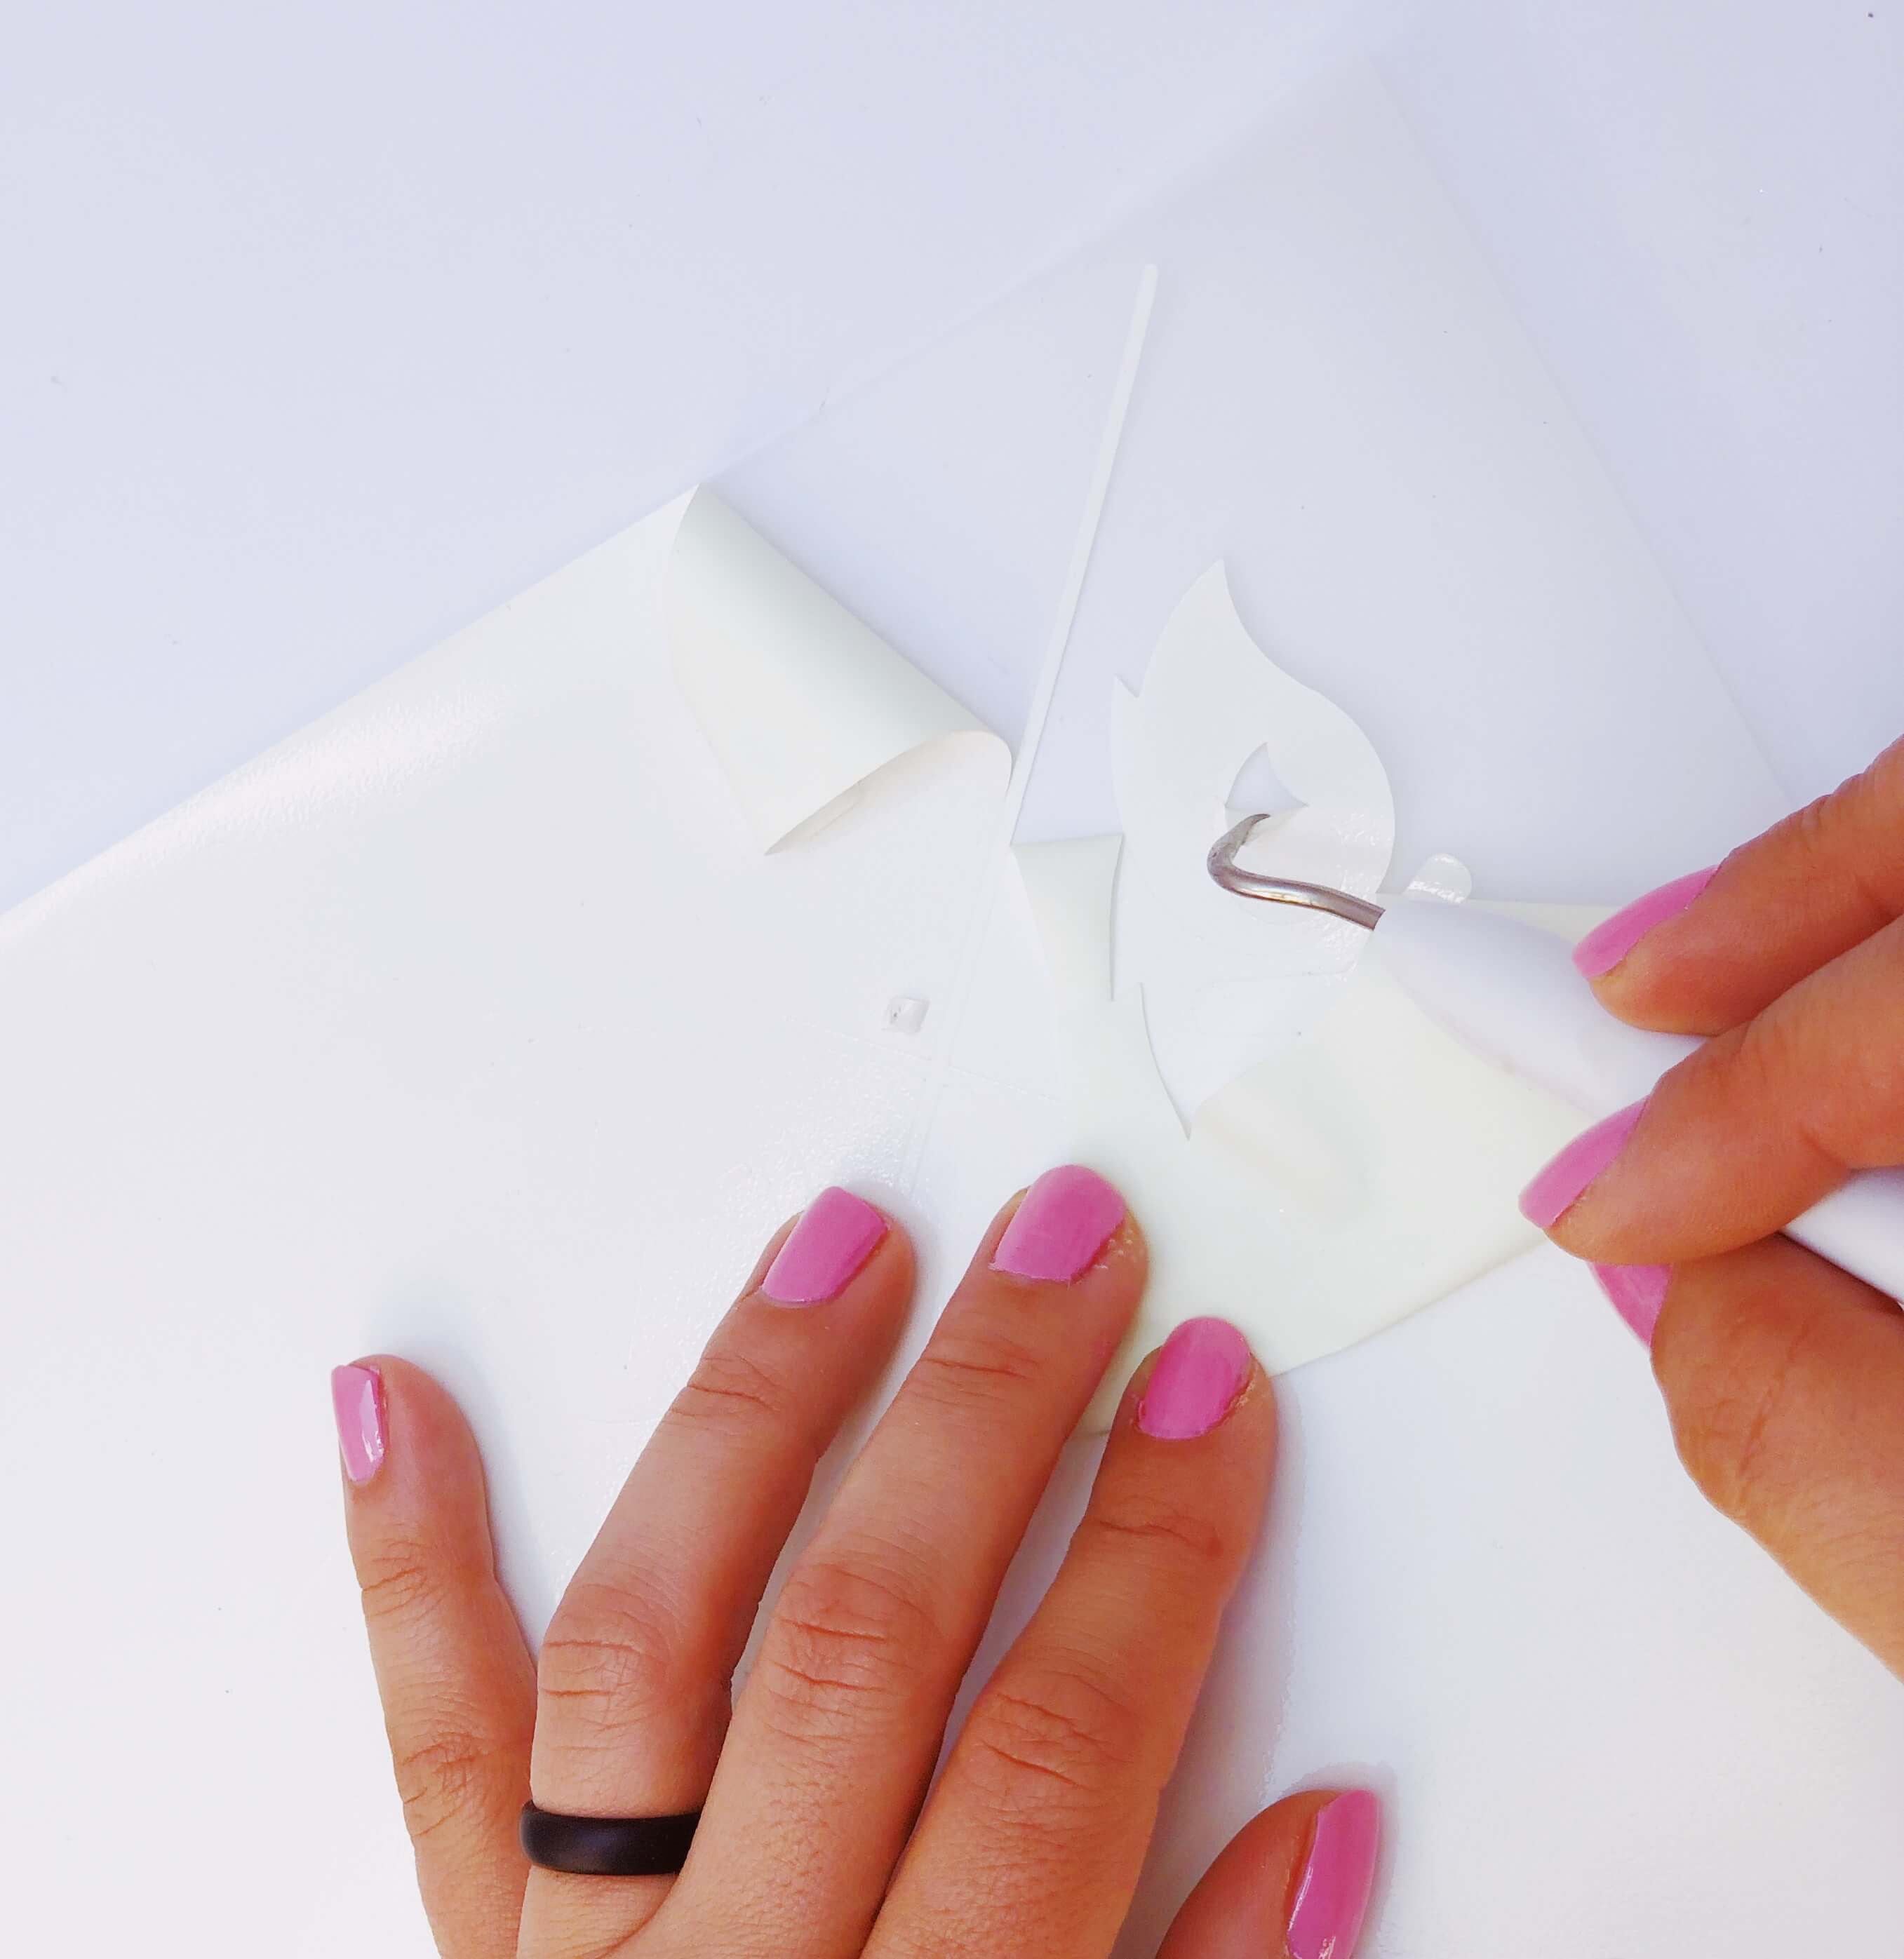
Once your machine is done cutting, trim the excess vinyl away so you don’t have to waste all that scrap material! I like to cut away as much vinyl as possible. It’s just easier for me handle when I do it this way. I recommend weeding your vinyl while it’s still on the mat.

Step 5
Place your blank shirt on your press and apply pressure for three 3 second bursts, this helps prep the material for the vinyl. Once the shirt is heated, arrange your design on your shirt.

Step 6
Place your smooth HTV on your shirt liner side up (vinyl down) and cover with a Teflon sheet. Press down for 10 seconds without a teflon sheet and then 15 seconds with a teflon sheet. Let cool for 10 seconds and peel carrier sheet away. Apply Glow in the Dark HTV to shirt. Apply press for 10 seconds. Wait 10 seconds and peel away carrier sheet.


I love creating these shirts for camping! The cost of the completed shirt is less than your morning Frappuccino and the cute glowing design helps you keep an extra eye on your little ones during your starry night adventures! I loved the shirt so much, I made one for myself!


To maintain the integrity of the design, I’d recommend a cold wash and laying out your shirt to dry.
